Description
🖤 Level up your Switch Lite style with silky smooth grip & pro-grade protection!
- ALL IN ONE DIY KIT - Comes complete with colorful ABXY buttons, volume & power buttons, screwdrivers, spare screws, and an easy-to-follow installation video.
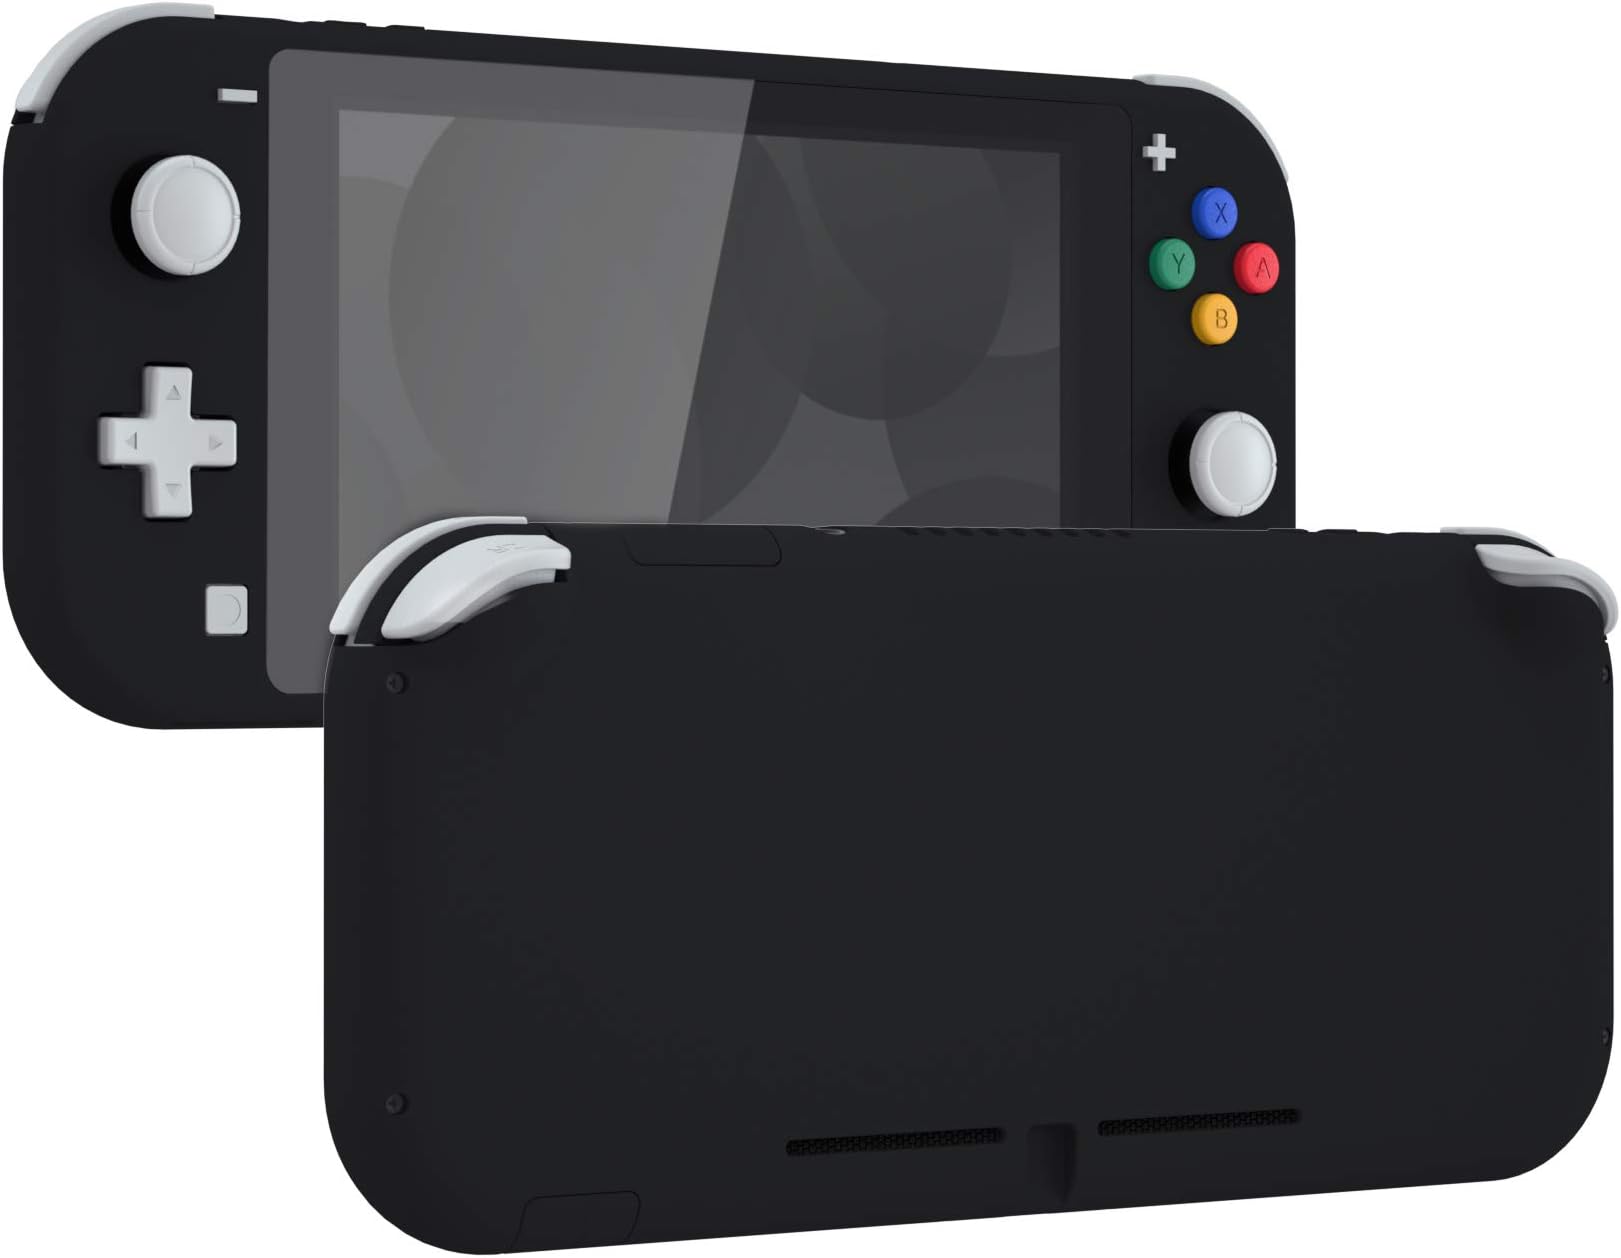
- ENHANCED GRIP COMFORT - Matte black soft-touch finish offers a silky, anti-slip surface that keeps your hands sweat-free during marathon gaming sessions.
- PRECISION ENGINEERED FIT - Custom-designed shell ensures flawless compatibility with your Nintendo Switch Lite for a seamless upgrade.
- PREMIUM DURABLE MATERIAL - Crafted from high-quality Acrylonitrile Butadiene Styrene (ABS) for a hard, resilient shell that stands up to everyday wear.
- SCREEN PROTECTION INCLUDED - Unique black border screen protector adds personality while safeguarding your display from scratches and smudges.
The eXtremeRate Soft Touch Black DIY Replacement Shell is a precision-crafted, hard ABS cover designed exclusively for the Nintendo Switch Lite. It features a matte black anti-slip finish for enhanced grip, includes a black border screen protector, and comes as a complete DIY kit with colorful buttons and installation tools. Ideal for gamers seeking to personalize and protect their device with a professional-grade upgrade.