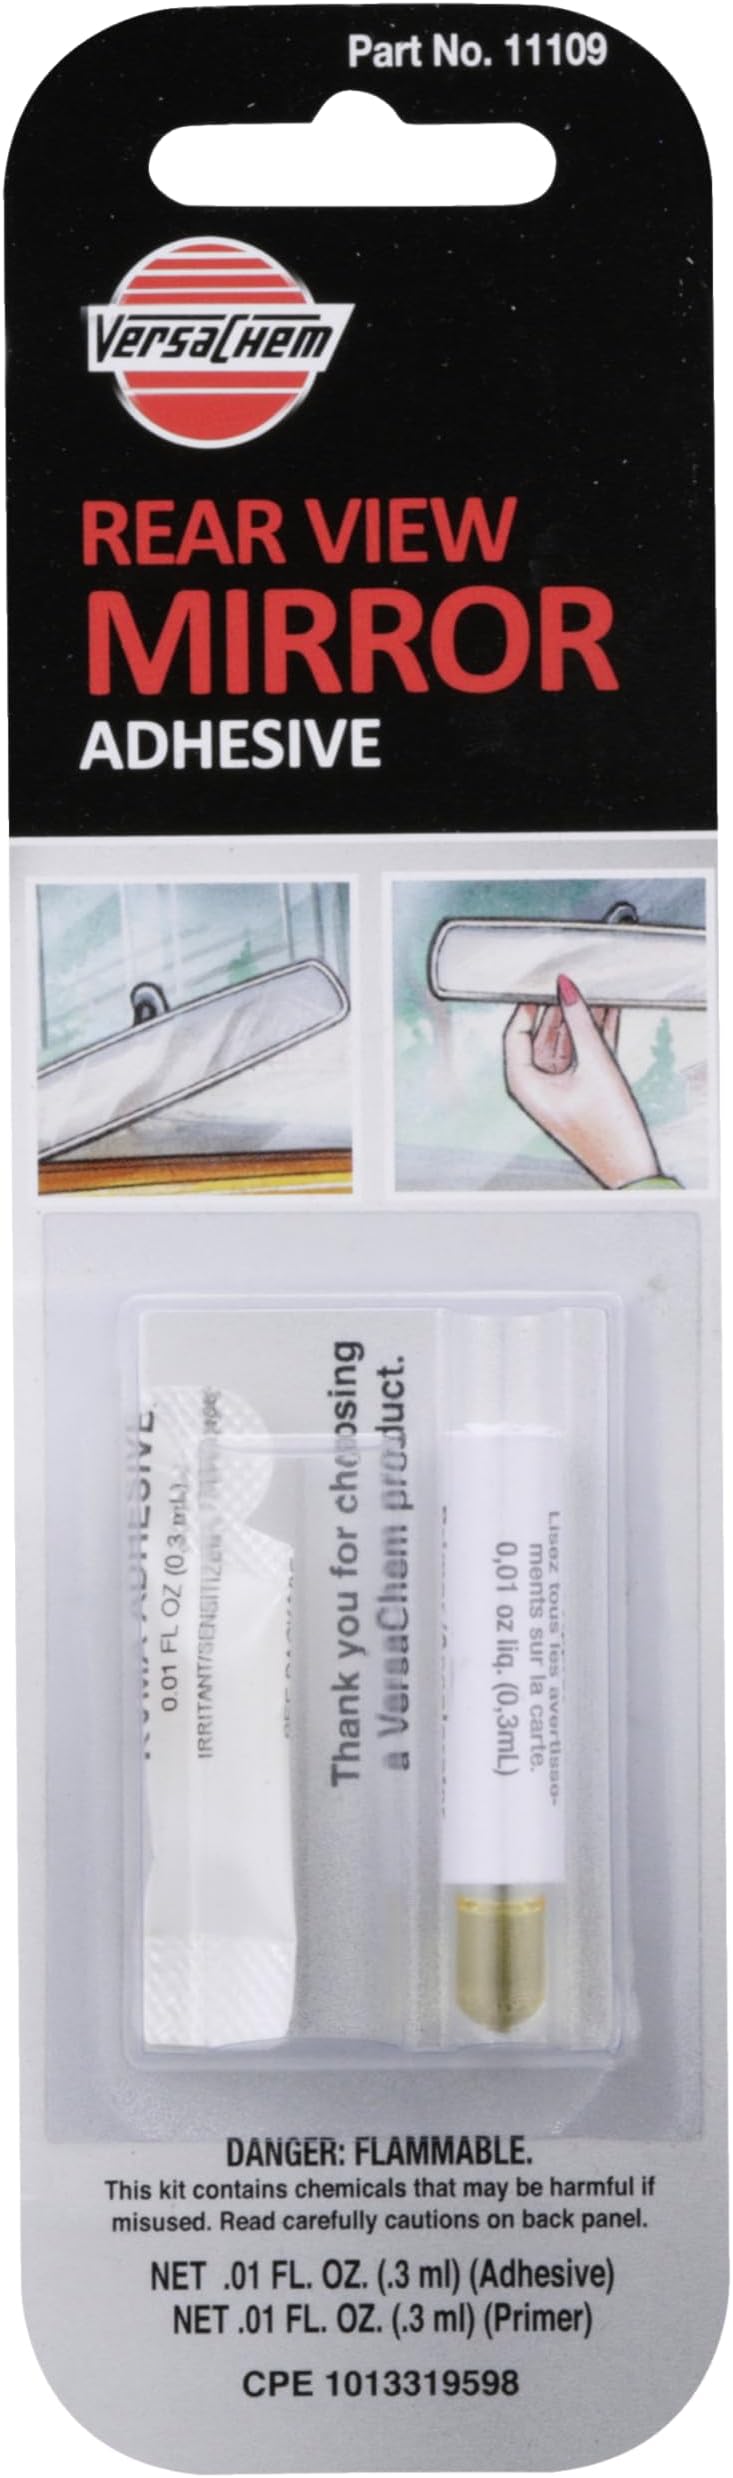


VersaChem 11109 Rear View Mirror Adhesive
Product ID: 3812146
⚡3000 psi bonding strength
💧Water resistant formula
⏱️60% strength in 5 minutes
Buy anything from 5,000+ international stores. One checkout price. No surprise fees. Join 2M+ shoppers on Desertcart.
Desertcart purchases this item on your behalf and handles shipping, customs, and support to Finland.
🔧 Stick with the best—mirror mounting made effortless and permanent!
VersaChem 11109 Rear View Mirror Adhesive delivers a professional-grade, water resistant bond with 3000 psi strength that sets rapidly—60% strength in 5 minutes—ensuring your rear view mirror stays firmly attached. Its versatile formula works on multiple surfaces without mixing, making it the go-to solution for durable, fast, and hassle-free automotive repairs.
| ASIN | B0002JN56A |
| Best Sellers Rank | #842,392 in Automotive ( See Top 100 in Automotive ) #1,722 in Automotive Interior Mirrors |
| Brand | Versachem |
| Customer Reviews | 4.2 4.2 out of 5 stars (1,362) |
| Date First Available | July 7, 2004 |
| Is Discontinued By Manufacturer | No |
| Item Weight | 0.01 ounces |
| Item model number | 11109 |
| Manufacturer | VersaChem |
| Manufacturer Part Number | 11109 |
| Package Dimensions | 7.68 x 2.24 x 0.55 inches |
| Position | Rear |
| Special Features | Water Resistant |
T**.
Works like a charm
I was skeptical about this glue. Some reviewers said it doesn't work. I give it a try because it was cheap. I applied it on for a month now and no problem so far. I don't know why people give it a bad review. I follow the direction and it sticks. There are a few things that I have to assume that wasn't clear in the instruction. 1. Applied prime to surface. It wasn't clear to apply only on the metal piece of the mirror or both mirror and windshield. I applied on both. Also instruction said let the prime dry, but how long. I let it dry for 5 minutes to make sure, but you can't tell by looking at it. And I don't want to touch it. 2. Instruction said to hold it with pressure for 30 seconds for it to stick to the windshield. I have to assume they are talking about the metal and plastic piece that holds the mirror and not the whole mirror itself. Commonsense said it will be too heavy with the mirror. I hold it for 1 minute and it was slippery. It try to move around. Instruction said not to move it around when applying glue. After it hold up, I left it there overnight before adding the mirror. It was hard as a rock. 3. Instruction didn't state what temperature it needs to be for optimal performance. I assume it can't be too hot or cold. So I applied it at room temperature and it worked perfectly for me. Overall, this product worked as advertised.
D**D
Works As Advertised
Excellent product, worked great, first time using anything like this before. I scraped all the old glue off the button and window first. I used a fine grade sanding block (used for sheet rock) on the button to clean any excess glue off and to rough it up a bit. I then cleaned off the button and the install spot on the windshield with alcohol. I let them dry for a minute then applied the activator on the button and let that dry for 2 minutes. After that I put a drop of adhesive on the button. I lined the button up to where it goes on the windshield and firmly pressed on it for 2 minutes. The directions say it is good after 30 minutes but I let it sit overnight to be on the safe side. It seems to be holding very strong as I had to bang a little bit on my mirror to get it on since my mirror has a large tension clip that goes over top the entire button. I am very impressed with the product so far. I thought I would have trouble with it reading all the reviews on other products, that is why I got this one since it had the best reviews. The few that are having trouble with this product must not be doing the prep work/cleaning properly or maybe they have an expired product.
P**R
4's A Charm!? 4th Product Attempted Finally Worked - 5 year UPDATE
UPDATE: 5 YEARS LATER (2023) the mirror is still holding strong, thru many furnace Texas summers!! After spending a few hours weeding through reviews, this is the product I came up with. I've been trying to replace the mirror in a 2003 MDX. No black paint area to stick to and what seems to be the slipperiest windshield glass ever. Prior to each attempt, I carefully cleaned the windshield with a razor blade and Windex (never use a razor blade on dry glass), followed by alcohol with a clean paper towel. The glass was visibly clean with no signs of dirt/oil. I first tried the Permatex Extra strength, following their directions exactly. When putting the mirror back on long after the recommended drying period, the button popped off the windshield the first time I tried to adjust the mirror position. Second, I tried the regular Permatex product, followed the instructions, waited even longer before mounting the mirror only for it to pop off (button from windshield) upon first adjustment. Tried silicon caulk, waited days, and the button appeared to be firmly attached to the windshield this time but alas, first adjustment attempt popped the button right off the windshield. In all three attempts, the adhesive (and caulk) was stuck very firmly to the metal button and the failure was always between the adhesive and the windshield. After each attempt, I filed the old adhesive off the button with a flat metal file to ensure it was fully removed and to add a tooth for the next attempt. Finally, I tried this product. This one said to prime only the button, not the windshield (Permatex products say to prime both the button and windshield). This may have been the difference since the primer always seemed to leave a greasy film on the windshield. Either way, as soon as I stuck the button with the adhesive on it to the windshield, I could tell this was a better adhesive as it stuck firmly, immediately. I waited a couple days to put the mirror on (~50 degree weather) but once on, it's still on a month later. Even though it's holding fine, from the outside, I could tell I got little more than 50% coverage of adhesive on the surface of the button. The directions say to use one drop or a small bead. I ran a small bead the length of the button but it wasn't enough to get full coverage and likely the size drop I would have used would have been less, based on my experience with the thinner Permatex liquids. So, my recommendation is use a little more than you think you should. I believe any extra that you apply would squeeze out the sides. Again, mine's stuck on with half coverage.
E**A
Poor instructions
This product may work well. However, the poorly written instructions don't take into account how heavy modern rearview mirrors are today. You need to remove the metal button from the mirror and hold that onto the windshield for the 60 seconds and then allow it to cure for 30 mins before putting the rearview mirror onto the metal button. Following the instructions to the T, the rearview mirror fell off immediately and wasn't able to cure for 30 mins because it's too heavy, as are most modern day mirrors. If the company/distributor feels like sending me a replacement tube, I would be glad to try again and update my review. Until then, I honestly hate this product and would recommend using another.
R**.
Mixed reviews
I had mixed reviews on this one. I remember buying a product that was similar or maybe this same one in the past and it worked really good so I bought this and it didn't work at all even though I read and followed the instructions. I bought another one though and followed the instructions again and am mystified as to why it worked so well the second time. So I give it 4 stars since it has worked so well the second time and am so happy that the mirror is not falling off in the heat of the summer. I just thought of a reason, the second time I used a brand new metal plate that gets glued to the window and attaches to the mirror. Maybe that was the difference.
K**E
it's glue, what can i say more
tHiS is a ONE time try to get that darn rear view mirror to stick to the windshield. If you do not prepare the windshield perfectly, you may want to plan on cleaning it again and again. Or do like i did, not being able to remove all the parts stuck on the windshield, and having the base of the mirrior olding thinggy slowly slide sideways and that just isn't right. So having to use a hand scrapper, i finally after almost 20 minutes...i gave the sideways glued base of the mirrior one more strong scrapping, and CRACK the entire windshield blew into the most pretty spider web like cracks all over the place. I hung my head in defeat...and maybe cried a bit...."don't tell anyone, because big ole grown men don't cry i was told". Well at least don't let anyone see you crying. If i cry...just because i'm crying... it makes me cry even harder...because to me that shows Defeat! So i sucked in the snot that was in my nose...wiped my tears away, and by just moving my eyes i looked right then left , just to see if anyone had seen me crying...and no, no one around. After driving in shame to the onlookers..because I just knew every living soul on earth was looking at my car windshield, probabibaly er possibly or probibale thinking i can't spell, and they are right...but nonetheless or none-the-less, I purchased a new windshield for about 236.99 for a 3 dollar fix. I always say: "If it ain't wrong, then it ain't right". That means to me at least, expect the worst thing to happen, and it will, even after the "broken" thing is to be fixed, it will break more. With the windshield purchase.. the ticket for not having a rear view mirror, and the glue kit, I'd say after all is done and said. . .the 453.09 dollar fix for a broken mirror attachment wasn't all that bad to be expected.. I just hope my next project isn't too much more than that. Thank YOu
C**N
It Works!
Rear view mirror would not remain in place until we used this glue. The mirror has not come lose since using this adhesive.
M**E
So far so good...
This would be my third try and getting my rearview mirror to stay on my windshield of my 2012 Altima. Other brands failed within a few days and I received that great gift of arriving at my car to find my rearview handing my the wires for the compass, auto dim, etc. I did a lot of research and did the following on this attempt. 1: Park your car out of direct sunlight in an area that it will remain out of direct sunlight, if you can. Close your windows and run your A/C thru your defrost if it is hot and or humid. Change your A/C to dash vents before you actually apply the adhesive. 2: Clean the metal mirror puck your want to glue on very very vey well. Then, clean it again. 3: Remove any old adhesive from your windshield with a razor scraper or blade, all of it. 4: Take 90% isopropyl alcohol and clean the puck and wind shield area, let it dry and then do it again, let it dry. 5: Use a very light piece of sandpaper on the part of the puck that is going to bond with the window. Rough it up don't remove any more material than possible. 6: Apply the activator to the windows side of the puck only, and give it two applications. Wait for two minutes. 7: Apply a "bean" size amount of the adhesive. 8: be prepared for the puck to slide when you apply it to the window and put pressure on it. Hold it for a minute and let go. 9: Leave it alone for at least one whole day, with the windshield out of the direct sun, do not put your mirror back on the puck till day two. 10: Do not use a reflective sunshade in you front window after your glue the mirror back on. I don't have proof but I think the shade is reflecting the sun and heat back out the windshield and is increasing the temperature of the glass beyond the adhesive limits. I am at two weeks and it is still holding. Good Luck
S**R
Money saver
Did a really great job of reattaching the review in my ML350. Alternative is to replace the whole windscreen at considerable cost. Arrived quickly and was easy to use.
A**K
Five Stars
It's been holding the after market mirror on for about 6 months now. Now problems!
I**M
Mirror Adhesive
Followed instructions and attached mirror mount in 10 mins . So far it’s still attached to windscreen
I**A
very resistant product
very good product if you follow the instruction it will work perfectly, used it for about 2 months no issue so far
C**N
Does what it says it does
Tried everything to stick my rear view mirror on except pay £100 from a garage to do it, this done the trick
Trustpilot
3 weeks ago
1 month ago