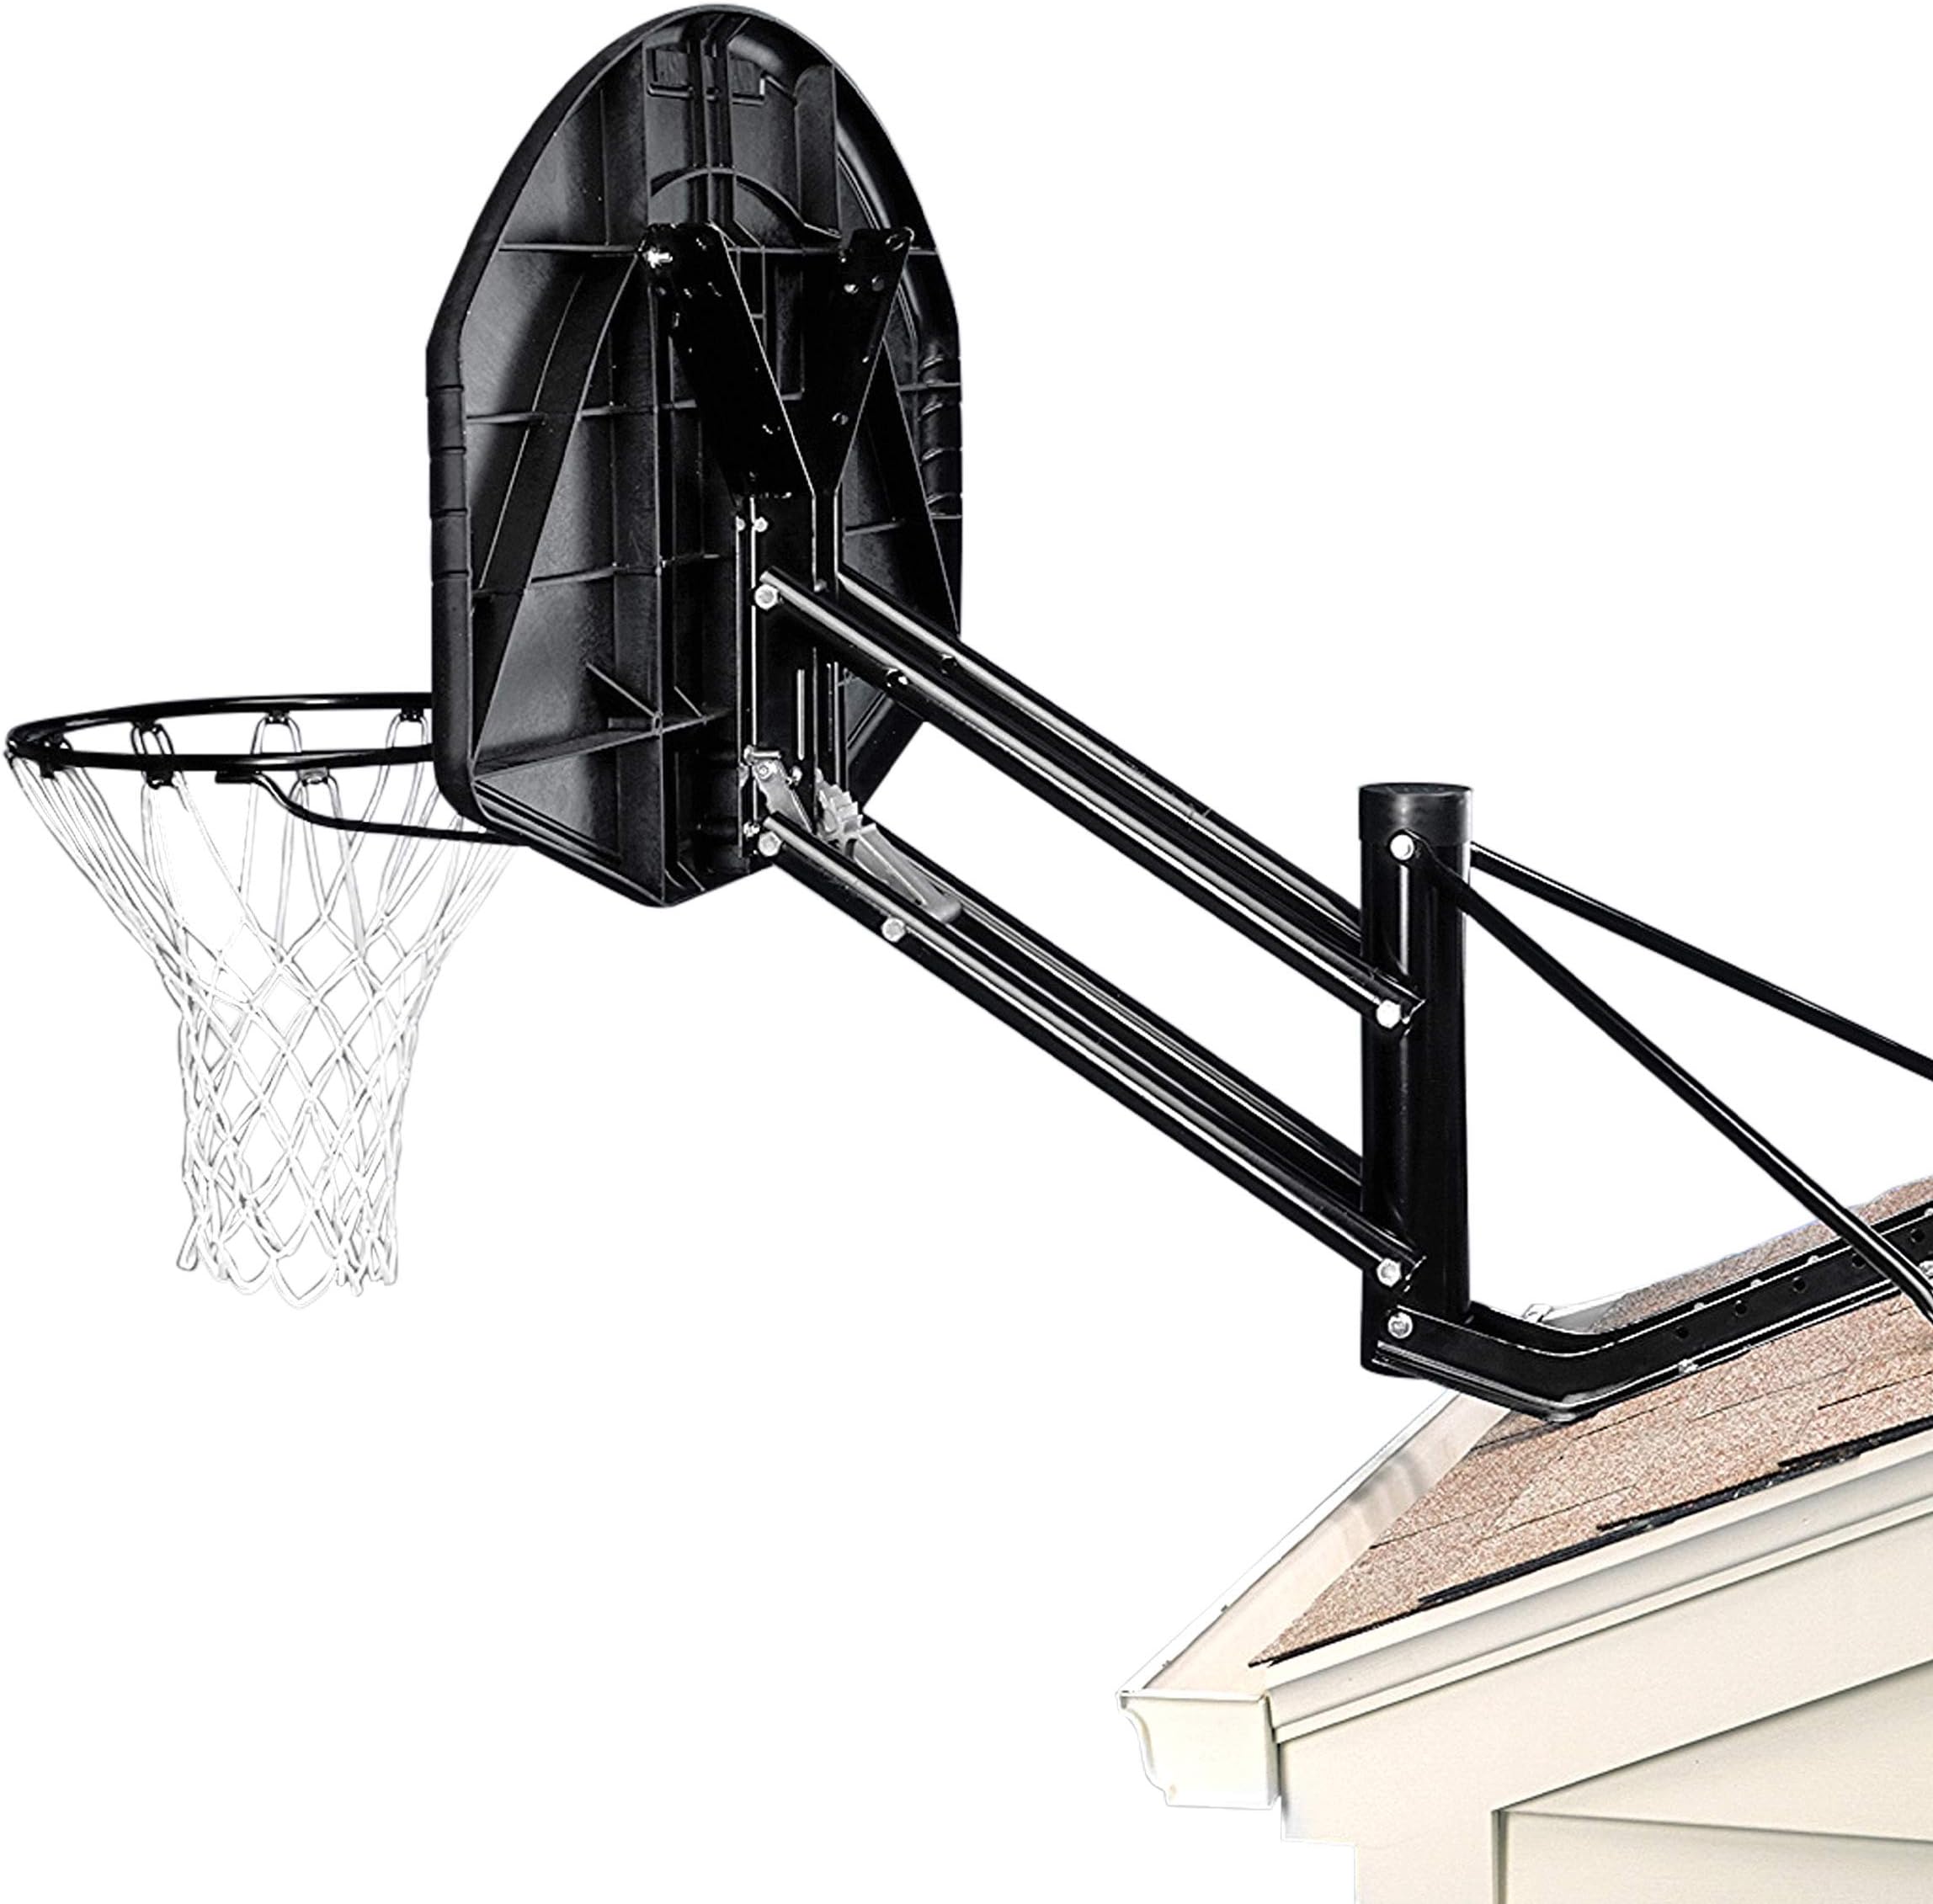
I rated this 5 stars as when it is installed, it works great. PROs: What's great is that it works for more than just the backboard shown, as it supports a rounded backboard with "Y" bracket as well as rectangular backboards with either straight or "Y" brackets.Since a neighbor was throwing away a broken stand-alone pole mount system, we used their Wilson rounded backboard, rim, and net which were still in good shape. Purchased this system hoping it would both work and fit. The backboard fit wonderfully on this system and looks like the bracket included with this system supports many different types of backboards, old and new.We also had minimal space on a slanted roof and it fit great. It is a very strong(and heavy) system.CONs: The installation IS moderately difficult, the instructions are pretty good, it's just that the process of putting up ANY mounting system is more on the difficult side. Here's some tips(not necessarily in order) to make your installation easier:1) Unpacking: All the parts were there for all three mount types (pole, wall, and roof - minus lag bolts for wall and roof - see point 3), however it was difficult to "see" the "Y" bracket that would attach to our backboard. Besides the next point, the board bracket comes as two straight pieces(Part #25) which becomes the new bracket for your board. In section B, Step 6, you bend the pieces to form the "Y" bracket. We attached the bottom 1st using the backboard's old bolts, NOT the rim itself though, which provides enough support to then bend the "Y" into the correct and exact position for your board.2) The one glaring ommission in the instructions is this - DEPENDING ON YOUR BOARD TYPE, PERFORM SECTIONS "A" OR "B", THEN CONTINUE ONTO SECTION "C". So for either backboard with a "Y" bracket, start with section "B", not section "A".3) Tools: Get all the tools mentioned including optional tools mentioned. For a roof install, you will additionally need 6 3/8" lag bolts and compression washers(need 4 3/8" lag bolts for wall install). For a roof install, also add 2 5/16" lag bolts and compression washers. These SHOULD be 6" long and get drilled directly into the truss(wood beams) in your roof. I would HIGHLY recommend a drill to socket adapter(~$5) for these long bolts to save a LOT of time. Also, get an extra long 3/8" drill bit to be able to drill deep enough into the truss. Get these at a hardware store.There's more to this one: Look on the internet for more info on how to install a roof mount/adding more wood underneath to mount into. I did a deep scan with a stud finder to try to find a truss and still had to do smaller pilot holes to find 1 of 3 scan readings as good. Ended up using 3 3/8" X 6" lag bolts and 3 3/8" X 1 1/2" lag bolts for the main connection as only one side lined up with my truss(long bolts) and the other had to go into plywood only(shorter bolts). I then purcahsed 3 3/8" hex bolts between 4 1/2" and 5" long along with 3 compression washers and nuts to give the roof mount additional bracing to compensate for the one side not being drilled into deeper wood. I also ended up using 2 5/16" X 1 1/2" lag bolts for the 2 support struts and secured them as best possible into my roof's plywood. (I do not have access to add 2X4s under the roof) For me, it worked out great and is handling all the stresses as we continue to play basketball.So this part makes sense to me, the roof(or wall) lag bolts are going to be custom depending on your environment. it was about $20 of parts(lag bolts, washers, extra bolts, etc. including a socket adapter) to make my roof connection. Took me a good part of a day just for this including going back and forth to the hardware store several times, hopefully you won't have to.5) Ladders: We NEEDED our 12 ft. ladder to do most of the roof work with an ADDITIONAL 8 ft.(minimum) ladder for two adults to lift into place while a third was on the roof attaching the 2 needed bolts.4) Contrary to the instructions, PUT THE RIM ON LAST, as this system is heavy(and strong). We used two old bolts from our used board's previous mounting system to temporarily connect it to the bottom of the "Y" bracket. You could instead use 2 of your 4 rim bolts to connect the backboard to the mounting system. This takes the weight down during the "big lift". Besides, the rim will just get in the way.5) People needed: At the point where the backboard with 1/2 of the mounting system gets connected to your wall or roof mount(the "big lift"), you will need 3 people minimum. We had two adults to lift the backboard and horizontal/diagonal elevator tubes to the roof(or wall) mount, while a third (our 11 yr. son)was on the roof putting the two bolts in(and one end of the large spring-loosely) to make the connection self supporting. Took us about 3 minutes. We also had our other son holding one of the ladders steady, so can understand why some say get 3-4 adults for that step.6) Four tricks to make the "big lift" easier: A) Don't have the rim installed first, it's a lot of unecessary weight to lift. B) Set the adjustment on the poles to the lowest position as best possible C) The 3rd person's only job is to get those 2 bolts on - practice on the ground before the roof or wall mount goes on the roof or wall. This also helps to make sure that one of the bolts isn't too tight so that the poles fit later during the "big lift". Do this before tightening bolts in Section "B" step 3. D) "Lace" the 4 elevator tubes using some strong string/twine through the middle holes of the elevator tubes so they are in their relative positions with some play and aren't flying around loose, but rather look close to the final pictures before lifting. Practice lifting on the ground to ensure that the 4 elevator tubes are not swinging randomly.Doing all of this saved a lot of time and seemed a lot safer for us. All of the other steps were completed with one or two people, usually the other just holding the ladder, or on a second ladder holding the rim at the end.7) Springs: Section"A",step 6 OR Section"B",step 5 has a picture showing a small spring going over a bolt. It goes under. In section"C",step 6, use the lowest height adjustment for the "big lift" and those 1st two bolts connecting the big spring loosely to the top bolt, THEN(separately and possibly after a break) use the HIGHEST height adjustment before stretching the big spring while adding the 3rd bolt. (Have someone hold your ladder for most of this)Tip: If doing a roof or wall install, use one of the "U" connectors(from the pole mount) to stretch the large spring enough to get on that 3rd bolt, then pull it out after securing the bolt.All of the above is to help anyone with their own installation. These systems are heavy and if you are not able to securely mount them to a roof, wall, or pole then get professional help. For us, we were able to complete the installation safely by using a combination of following the instructions, getting additional help reading reviews like this, and using common sense. Enjoy your basketball system!