Description
🚽 Upgrade your flush game with KOHLER’s genuine durability!
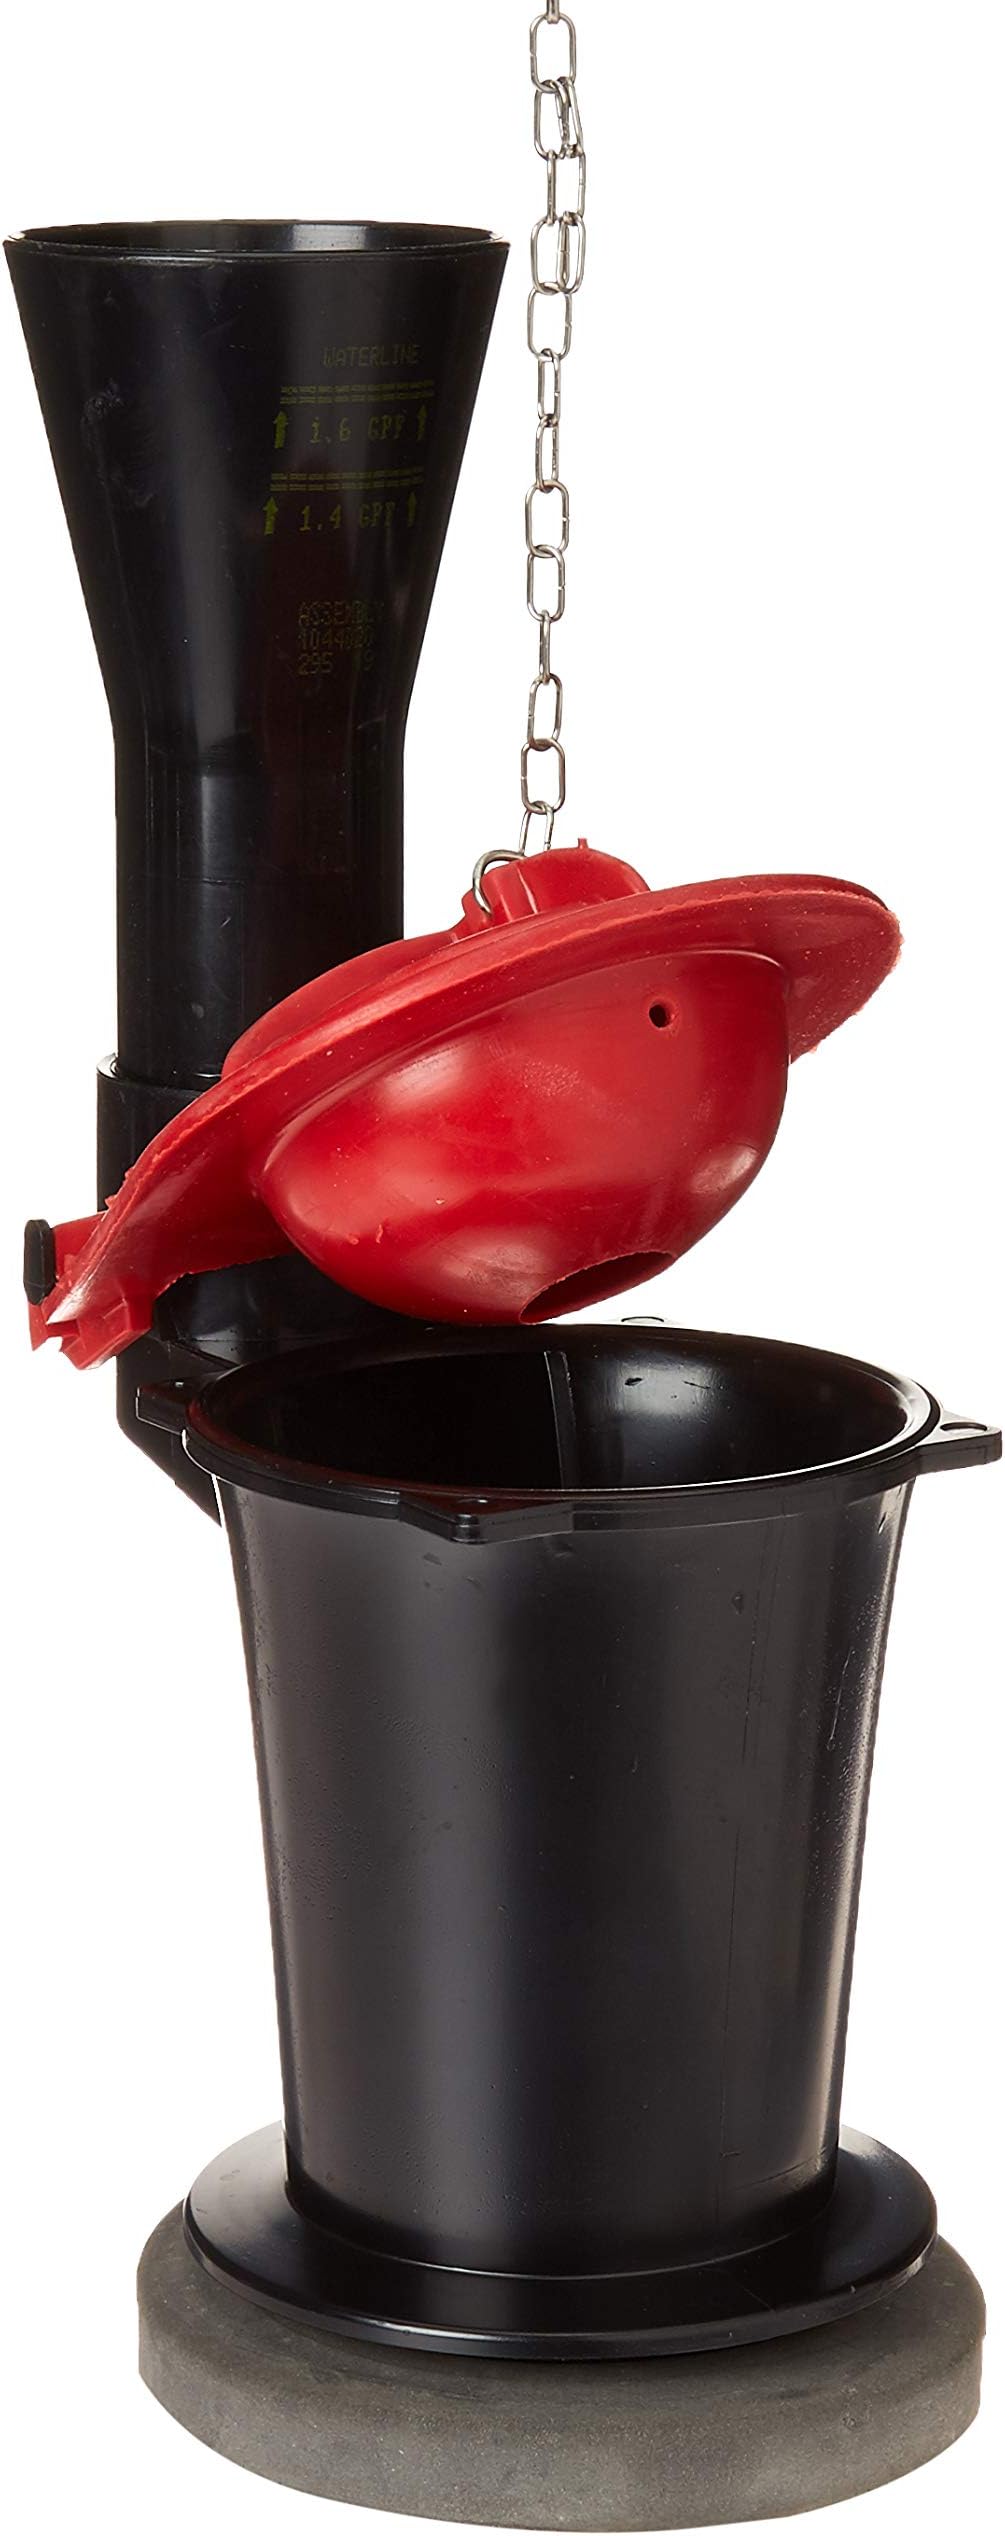
- PRECISION FIT - 2-inch flare inlet connection ensures seamless installation
- TOP RATED RELIABILITY - 4.7-star customer rating proves consistent performance and satisfaction
- DURABILITY YOU CAN TRUST - Crafted from premium metal for enhanced strength and reliability
- ENGINEERED FOR LONGEVITY - KOHLER-designed to keep your flush valve performing like new
- WARRANTY SAFE REPLACEMENT - Always choose genuine parts to protect your KOHLER product warranty
The KOHLER 1044458 Flush Valve Kit is a genuine replacement part engineered to maintain original product performance and extend the life of your KOHLER toilet. Featuring a 2-inch NPT flare connection and premium metal construction, this kit ensures a precise fit and long-lasting durability while protecting your product warranty.