We remain fully operational. Our teams are working around the clock to ensure your deliveries continue safely.

DOWNLOAD THE APP


Customer Services
Copyright © 2025 Desertcart Holdings Limited
DOWNLOAD THE APP


✨ Brighten your ride, own the night! 🚘
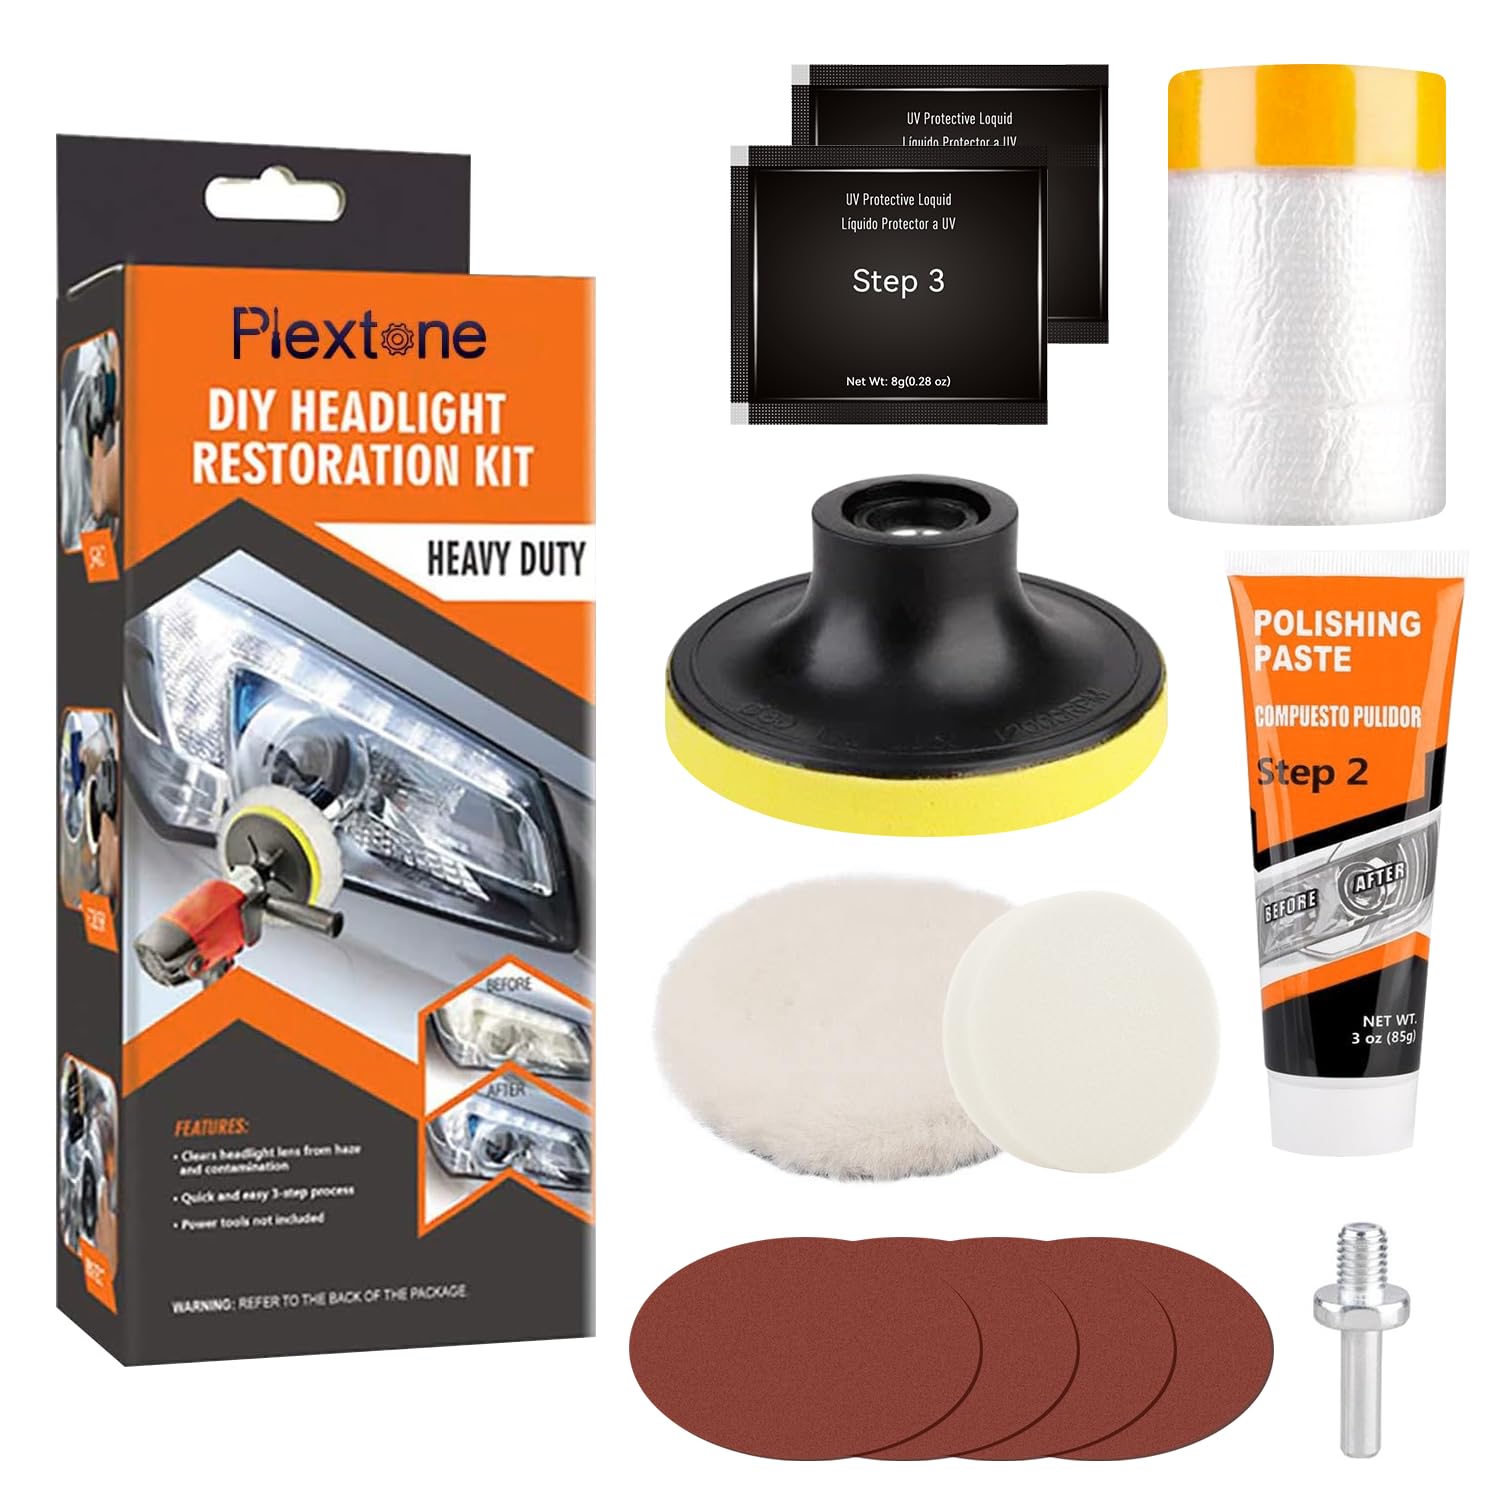
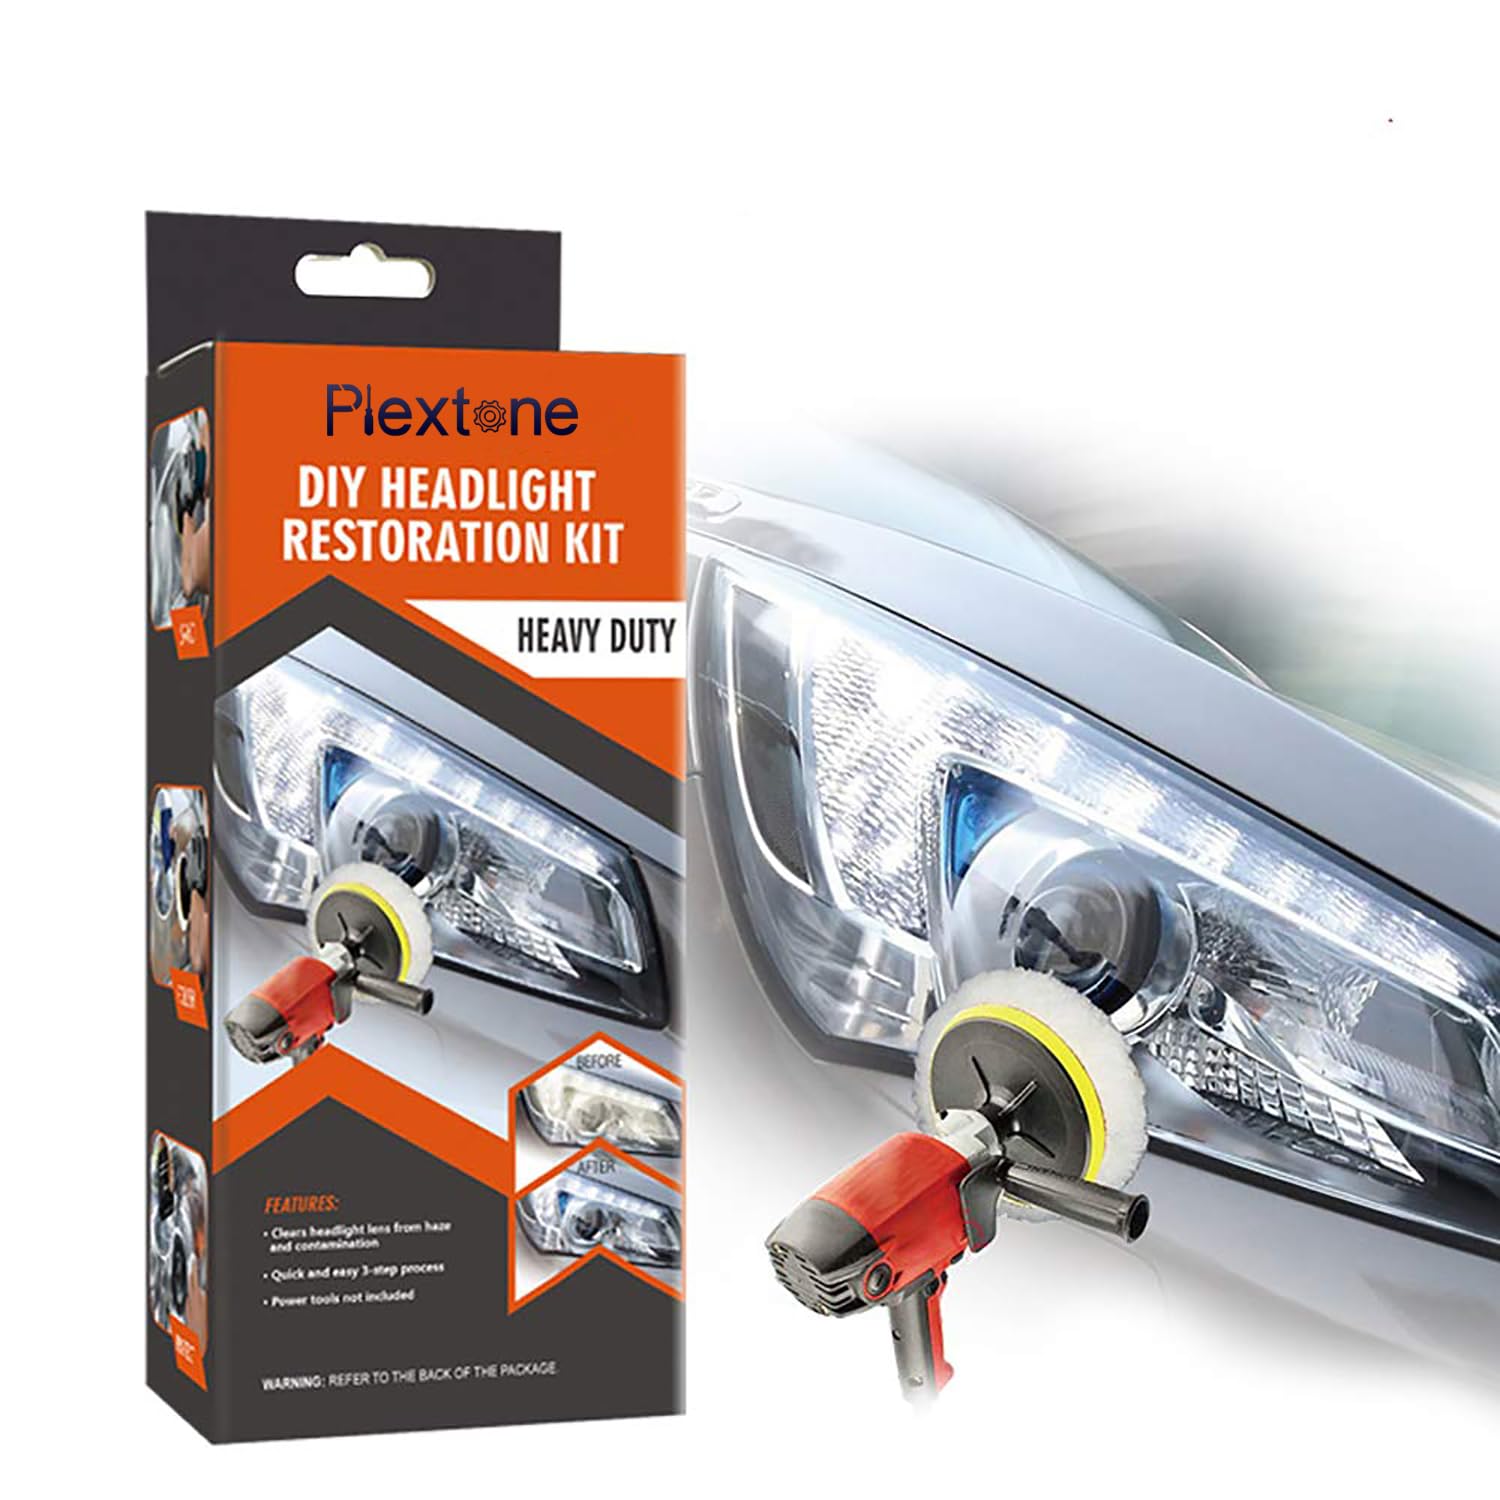
The Plextone Professional Headlight Restoration Kit offers a proven 3-step sanding, polishing, and protecting system designed to restore clarity to yellowed or foggy headlights. Lightweight and waterproof, this DIY kit efficiently rejuvenates two headlights, improving visibility and vehicle safety while saving you the cost of replacements.


| ASIN | B07PQQC4W5 |
| Best Sellers Rank | 115,838 in Automotive ( See Top 100 in Automotive ) 237 in Windscreen Tools |
| Brand | Plextone |
| Customer Reviews | 4.0 4.0 out of 5 stars (1,532) |
| Date First Available | 14 Mar. 2019 |
| Item Weight | 290 g |
| Item model number | PL01 |
| Manufacturer | VISBELLA |
| Manufacturer part number | Visbella |
| Package Dimensions | 19.8 x 9.4 x 6.7 cm; 290 g |
| Position | Rear |
| Special Features | Waterproof |
R**K
Works really well.
My 14 year old Toyota failed the MOT because the headlight lens was so cloudy. This product worked wonders. I looked at YouTube videos and followed instructions. A relatively simple process. I did not use the UV protective liquid which is the final stage, instead I used furniture polish which offers the same protection. It would be a stretch to say the headlights are now as good as new, they look better than they have for many years. My car passed the MOT on retest. Great product.
S**C
Mr
Nice
D**N
Good but dont use the UV protector
Very good product, after using the difference is remarkable. Crystal clear lenses really are possible BUT! The final step is to cover with a UV protection liquid, this for me went on superb but did not cure, the best it did was to go sticky, this then resulted in the headlights going all hazy again. So 2 hrs of hard work was ruined, 24hrs later it still hadent cured so i managed with a pan scrubber and washing up liquid to remove the majority, then repeated the polishing phase to bring it back to what it was before the UV liquid. It is still not right so like another reviewer said rub back with the 2000 grit and re polish. So good product but please dont use the UV protector liquid.
E**.
Good stuff
Good stuff. Takes a bit of effort to get decent results. Be careful of "burn" marks from the sand paper as it wears out because once that mark is on it doesn't come off, can also happen on ridges in the glass. Before and after pics (which I now can't find) show significant improvement.
S**E
IT REALLY WORKS !!
Decided to give this kit ago after reading some reviews and thought it`s cheaper than 2 new headlight lenses. We brought the automatic version so we could attach the sandpaper and buffer to our drill to make it easier. Instructions very easy to follow and we took our time doing it. After step 2 i was beginning to think it hadn`t really worked. Applied Step 3 and WOW you notice the difference straight away. It has to sit for 15 minutes to dry out of sunlight, then 1-2 hours in direct sunlight. The car has to be kept dry and out of moisture for 24 hours so best done on a dry day unless you have a garage. We are very happy with the end result and couldn`t believe they were the same headlights !!
A**R
Ok up until the UV protector fluid
Kit contains, some wet and dry discs in three grades 800,1200 & 2000, some cutting paste [Similiar if the not the same as T- Cut] , wheel boss , buffing mop and the UV protection liquid.....all worked well until the application of the UV protection fluid, it is still tacky some two days after application... the lights were left out in the sun albeit autumnal sun to cure for most of a day. In the end I cleaned off the UV protection liquid with a solvent and buffed up the lamps with as it happens some toothpaste and then polished......spent more time getting rid of the UV protection liquid than I did sorting out the original problem.
M**P
Excellent product will be buying more
was sceptic at first thinking sandpaper with plastic. if you sand it like your trying not to hurt it thats the wright amount of presure. watch as many you tube videos on how to do it first. sand it pollish it and not until you put the uv coatinv on it do you go wow. New headlights would cost approximately £200 eBay second-hand headlights approximately 50 quid each this kit will do both headlights. Took pictures throughout the stages haven't posted them all but as you can see when I go to the polishing stage I put dots on as a polished is more than once the end results is shocking to think that we left the headlights so long in their dull condition wish I had done it sooner recommended using a power drill as it's a lot easier I'm slow speed. Use it with water I used a spray bottle between sanding discs grades. Then no water for polishing and no water for applying the UV film which is in liquid form this also dries in sunlight takes about 2-hours to set don't wash your car afterwards for 24-hours
M**Y
Works a treat but beware the UV liquid
Seems to work well. Recommend electric high speed drill when applying paste or you be there hours ! Excellent results when nothing else I tried worked. 15 yrs old Headlamps like new. Careful when spreading the final UV liquid it goes sticky in seconds. After reading others had same problem with the UV liquid I suggest don’t use it . As soon as you spread it on it goes sticky and makes the lamps look rubbish. Get some decent UV Protection liquid. I found some on Amazon a little bottle .
M**.
El kit es muy bueno, hay que respetar todos los pasos recomendados (aunque cueste lijar) recomiendo pasar las lijas con la máquina y luego repasar con las mismas lijas pero a mano. Parecerá que queda rayado pero con el último paso quedará brillante como nuevo (cubrir del mal tiempo el faro por 48 horas al menos una vez terminado el proceso)
A**T
produit conforme a la description, la notice n'est pas en Français mais c'est facile a comprendre pour le mode d'emploi avec les images. je conseille ce produit pour le prix, satisfaction sur la qualité pour mes phares avant de cmax. Vous pouvez poncer via la main avec la petite calle fourni ou la mettre sur une visseuse sans problème (embout fourni)
S**E
Die Scheinwerfer meines Audi A4 B6 haben bei Dunkelheit überhaupt nicht mehr richtig geleuchtet. Es kam mir vor, als ob man mit Standlich gefahren ist. Ich habe die Streuscheiben der Scheinwerfer mit diesem Produkt behandelt und dann noch die normalen H7, gegen Osram Nightbreaker H7 +200% getauscht. Das Ergebnis war sensationell. Ich habe den Unterschied mal in einem kleinen Video auf unserem YouTube-Kanal festgehalten. Wen es interessiert, einfach mal folgenden Suchbegriff bei Google unter Videos eingeben: Schadenfreunde Osram Nightbreaker
S**T
i works really well .. but be very careful with the final step, do not put multiple layers of the protection paste, one layer only (one wipe)
S**N
Has the right concept. The kit has removed the yellow discolor but the poor quality of the sand paper has caused more damage to head light. Will do the trick if you need the cheaper option but I will have to purchase a quality repair kit to repair the headlight after this. Save the money and just get a quality one from an automotive store
Trustpilot
2 weeks ago
1 month ago