🔨 Elevate Your Gunsmithing Game!
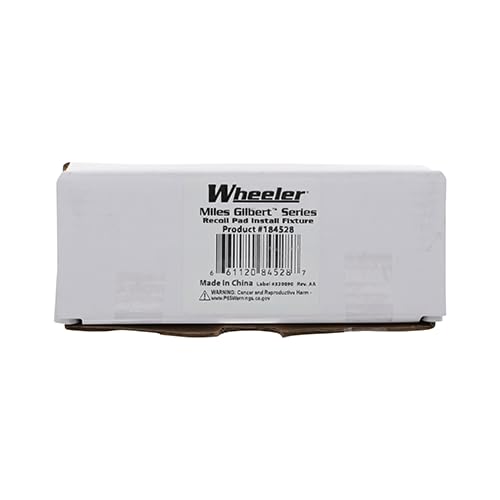
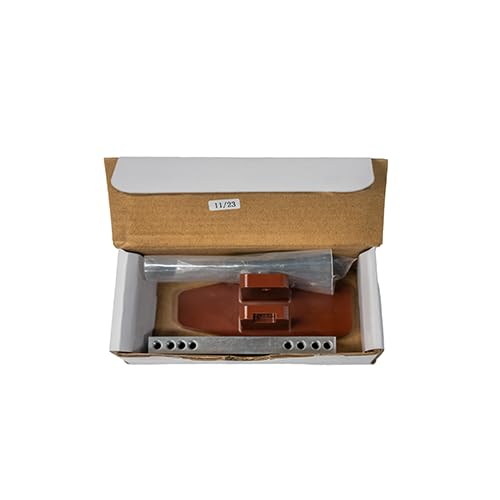
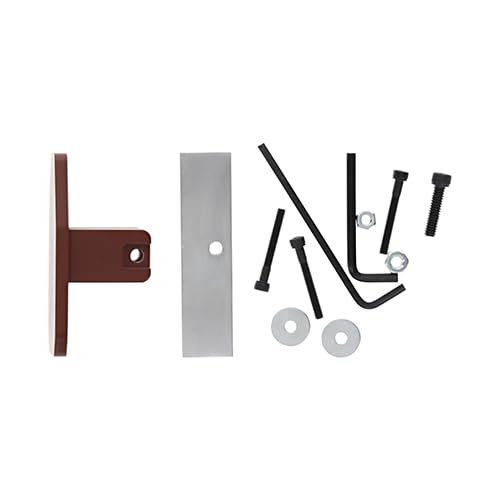
The Wheeler Engineering Recoil Pad Installation Fixture is a precision tool designed for gunsmiths, enabling professional-grade installation of rubber recoil pads. With its durable cast aluminum construction and user-friendly features, this fixture ensures accurate angle transfers and repeatable settings, making it an essential addition to any workshop. Plus, it comes with a limited lifetime warranty for added confidence in your purchase.
Item Package Dimensions L x W x H | 5.63 x 2.28 x 2.28 inches |
Package Weight | 0.25 Kilograms |
Item Dimensions LxWxH | 1 x 1 x 1 inches |
Brand Name | Wheeler |
Warranty Description | 1-year manufacturer |
Model Name | Wheeler Engineering Recoil Pad Installation Fixture |
Color | red |
Material | multi |
Suggested Users | unisex-adult |
Manufacturer | Wheeler |
Part Number | 184528 |
Included Components | Wheeler Engineering Recoil Pad Installation Fixture |
Size | One Size |
B**N
Makes Grid to Fit Easy
I love this jig. I have installed 6 pads now. All came out great. This is the perfect tool for making grind to fit pads look great on your shotgun stock.
V**S
Works like a champ...
My Rossi in 454 Casull kicks like a mule when launching 300 grain love pills at 2000 fps. I ordered the Kick-EEZ in the junior size and it fit just fine. I also shortened the length of pull from 14 to 13 inches. Get this grinding Jig and a 4 x 36 belt sander and do the job right. READ THE INSTRUCTIONS FOR THE LOVE OF GOD... Start with 80 grit and finish up with 120 or 200 grit. Make sure the the belt sanders table is set to 90 degrees from the belt. Make sure the table adjustment knob is tight before beginning the work. Mount the new pad to the buttstock with the supplied screws. Just make sure you leave enough meat around the holes by centering the pad in the middle of the stock. Leave enough meat for the drop on the bottom as well. Using a sharp scribe mark the recoil pad with the stocks outline. Use a ultra-fine point white marker to layout the fine scribe line in white. You can now grind to within 1/16" inch of the white line with the 80 grit. Swap to the 120 grit and finish up to where you can barely see some of the white line all the way around. TAKE YOUR TIME.. Resist the urge to go any further with the belt sander. Sand by hand to finish. I hand sand it with a sponge sanding block with some WD-40 afterwards just to smooth things out. You can round the edges of the soft rubber somewhat with the sanding sponge. I rinse the finished recoil pad with 91% rubbing alcohol afterwards. Watch several You T videos that use the this sanding jig or something similar.
R**L
Very simple to use
Good quality well made but most of all saved me $$ I was able to replace a recoil pad on my father's hunting rifle that I passed down to my oldest grandson read instructions watched a video on line and 30 min later it was done.
J**D
Worked Great
Seemed to work great despite the criticisms of having the base plate too large.this was my first attempt at properly installing a recoil pad. no issues. Use fine grit paperthe coarse paper seemed to want to take the pad away from your grip.
M**K
Must have for recoil pad installs
Best jig for installing grind to fit recoil pads. This is my second one. Loaned my first out and never returned. I've done dozens of recoild pads with this. A must have. Pays for itself wit one install.
J**P
Works well
Definitely speeds ip installation time and accuracy of fit
J**O
A Must Have!
I resisted buying this jig and a disc sander for too long, spending too many frustrating hours getting recoil pads to fit properly. The money was well spent. It's cut my time spent to about an hour and could be less if I had the confidence to go to the scribe line.
J**L
Works great with a little patience.
Results are up to you. Set it up correctly and freeze your pad before bringing it to your final dimensions. It works great and is fast.
Trustpilot
2 months ago
1 week ago