We remain fully operational. Our teams are working around the clock to ensure your deliveries continue safely.

DOWNLOAD THE APP


Customer Services
Copyright © 2025 Desertcart Holdings Limited
DOWNLOAD THE APP
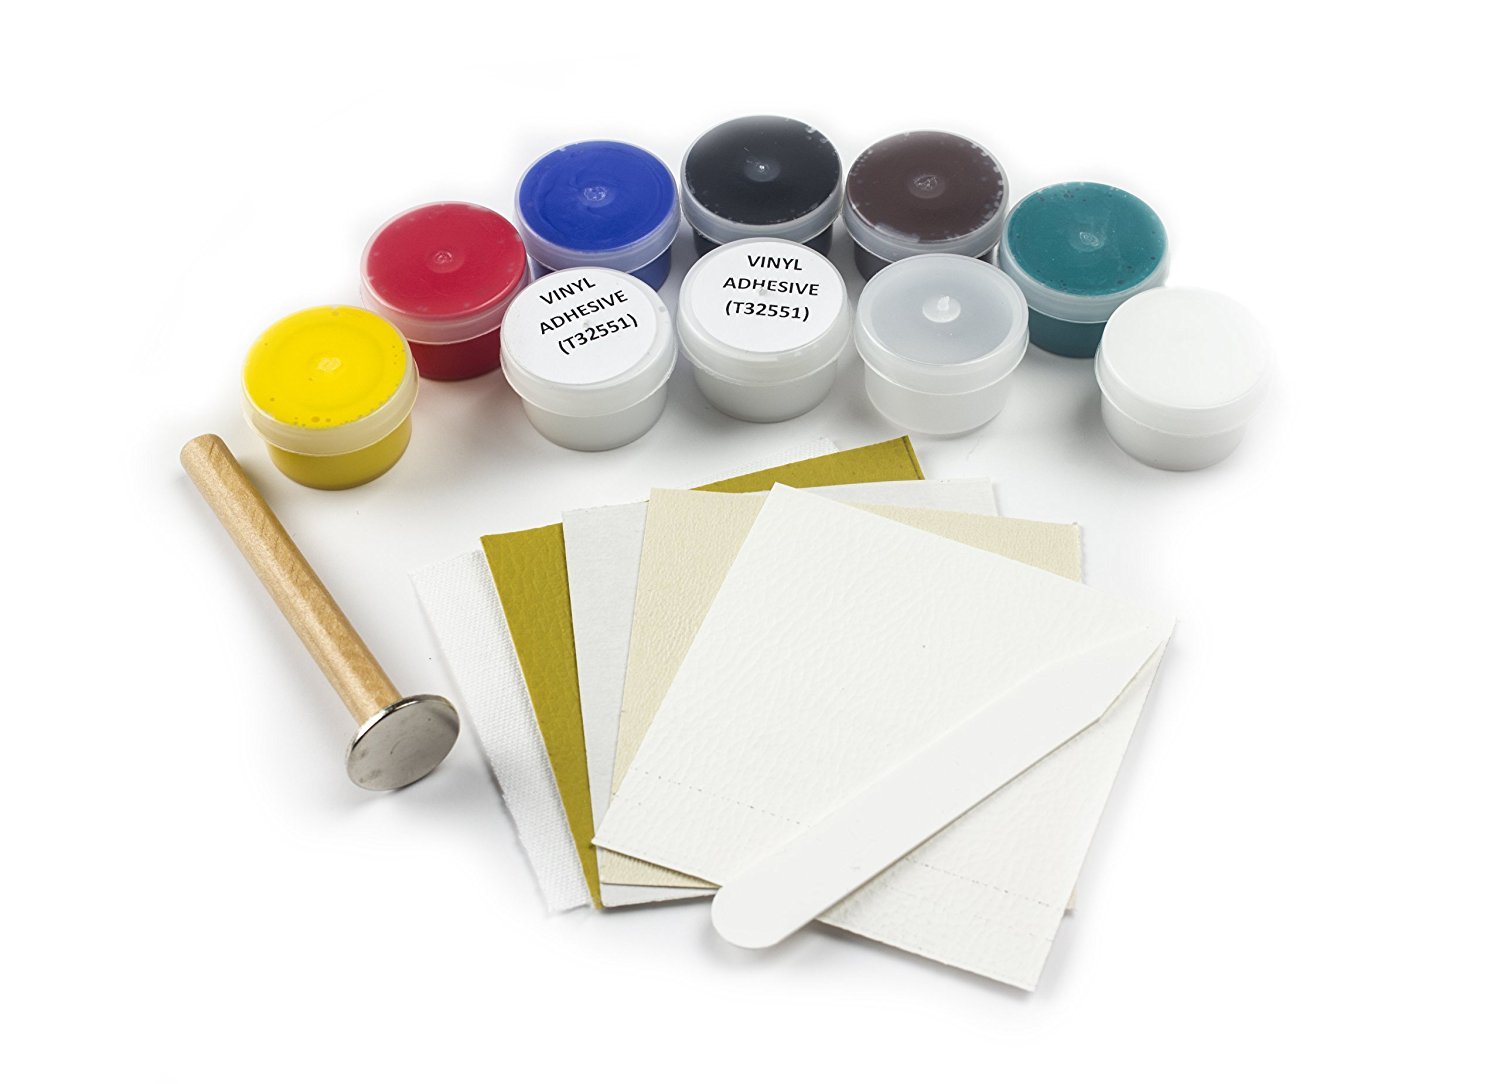
Repairs holes, rips, tears, gouges, cigarette burns and more. Special repair compound colours mix to all popular shades. The repair is made without removing the leather or vinyl..it is done right in place. Very Easy and Safe to use comes with step by step instruction and colour mixing guide. No additional tool required just apply and let it dry, ideal solution for DIY repairs.
F**K
Difficult
The kit comes with very poor instructions, but please be advised. Firstly, it does work (after a fashion). It comprises several very small (and I mean "stingy") pots of filler which doubles up as a dye, a very small pot of leather/vinyl glue, a small piece of backing cloth (which resembles sacking), a small patch of leather, some small patches with different "grains" (patterns), a small heat/cover, and what is supposed to be a heat transfer device.Firstly, they don't clearly explain how to repair a hole in the existing leather. In my case, I was repairing a fairly long (about 2") tear in the leather of a car seat. This had gone through to the foam interior, and made a hole about an inch deep. I filled the hole with more foam, then managed to work some of the glue underneath the existing leather. I cut a piece of the new leather to fit in the hole, with sufficient overlap to hold. Then, I carefully eased this into the hole and ensured the glue held it. The glue is quite good, so shouldn't need a lot of pressure to ensure it sticks. That part was quite easy and the unfinished repair was quite strong. Once ready, this is when the filler/colour is applied. This fills the indentation (as it will now be). You will end up with a "sandwich": original hole filled with fabric/foam (if necessary), "sacking" cloth to hold this in/form initial repair, leather patch glued to the inside of the existing leather (over the top of the "sacking", filler/colour on top of it all.Here comes the difficult bit. They suggest trying some of the filler/colour out on an out-of-view piece of existing leather, to match the colour. What they don't explain is that the tiny pots of filler/colour have to be mixed to give you the correct colour. Whilst you may be able to do this for a small amount, the problem then is making sufficient to complete the job, whilst also matching the colour you want. Because there is so little of this filler/colour, it is difficult to mix it in batches, because you're still confronted with the same problem of how to match the colour.To my mind, what would have worked better would have been just one pot of white filler, with several pots of dye, which could be mixed together before mixing with the filler.What I ended up with was a blue/grey original, and a turquoise patch over the top! It looks pretty amateurish.The other things to bear in mind are 1) heat and b) pattern. The "curing" process works with heat. I was lucky, because it was a roasting hot day and my car was in direct sunlight, so the repair cured quite quickly. What they suggest you do is to stick the pattern fabric over the top of the paste, take the wooden stick with a metal disc on the end, hold it on to some heat (such as an iron), then work this over the top of repair, in order to ensure it cures. It's a bit "Heath Robinson" and not guaranteed to work. The idea of the pattern patches is that you match the pattern to the existing leather/vinyl and apply this to the repair before it cures, and allow the imprint to pattern the repair compound. This may work well on a relatively flat surface, but where there is an edge repair, it's not easy to get the pattern fabric to stick. I abandoned the idea, because it was also difficult to get sufficient heat to the paste to cure it properly.When complete, the repair is quite flexible and does look durable. "Less is more": you can add, but you can't take away. If you don't completely fill the hole, you can always mix up some more filler/colour and finish the job. However, you're still confronted with the colour match problem.I think this really works best on very simple colours, without having to do any (or much) mixing.I can't rate it as excellent, because of the problems above. However, it isn't completely useless and with some trial and error I think it can be reasonably successful. I think you'd have to be more of an expert colour matcher than I am, to ensure a realistic, properly coloured finish.
S**N
Five Stars
good
Trustpilot
4 days ago
1 month ago