
DOWNLOAD THE APP


Customer Services
Copyright © 2025 Desertcart Holdings Limited
DOWNLOAD THE APP
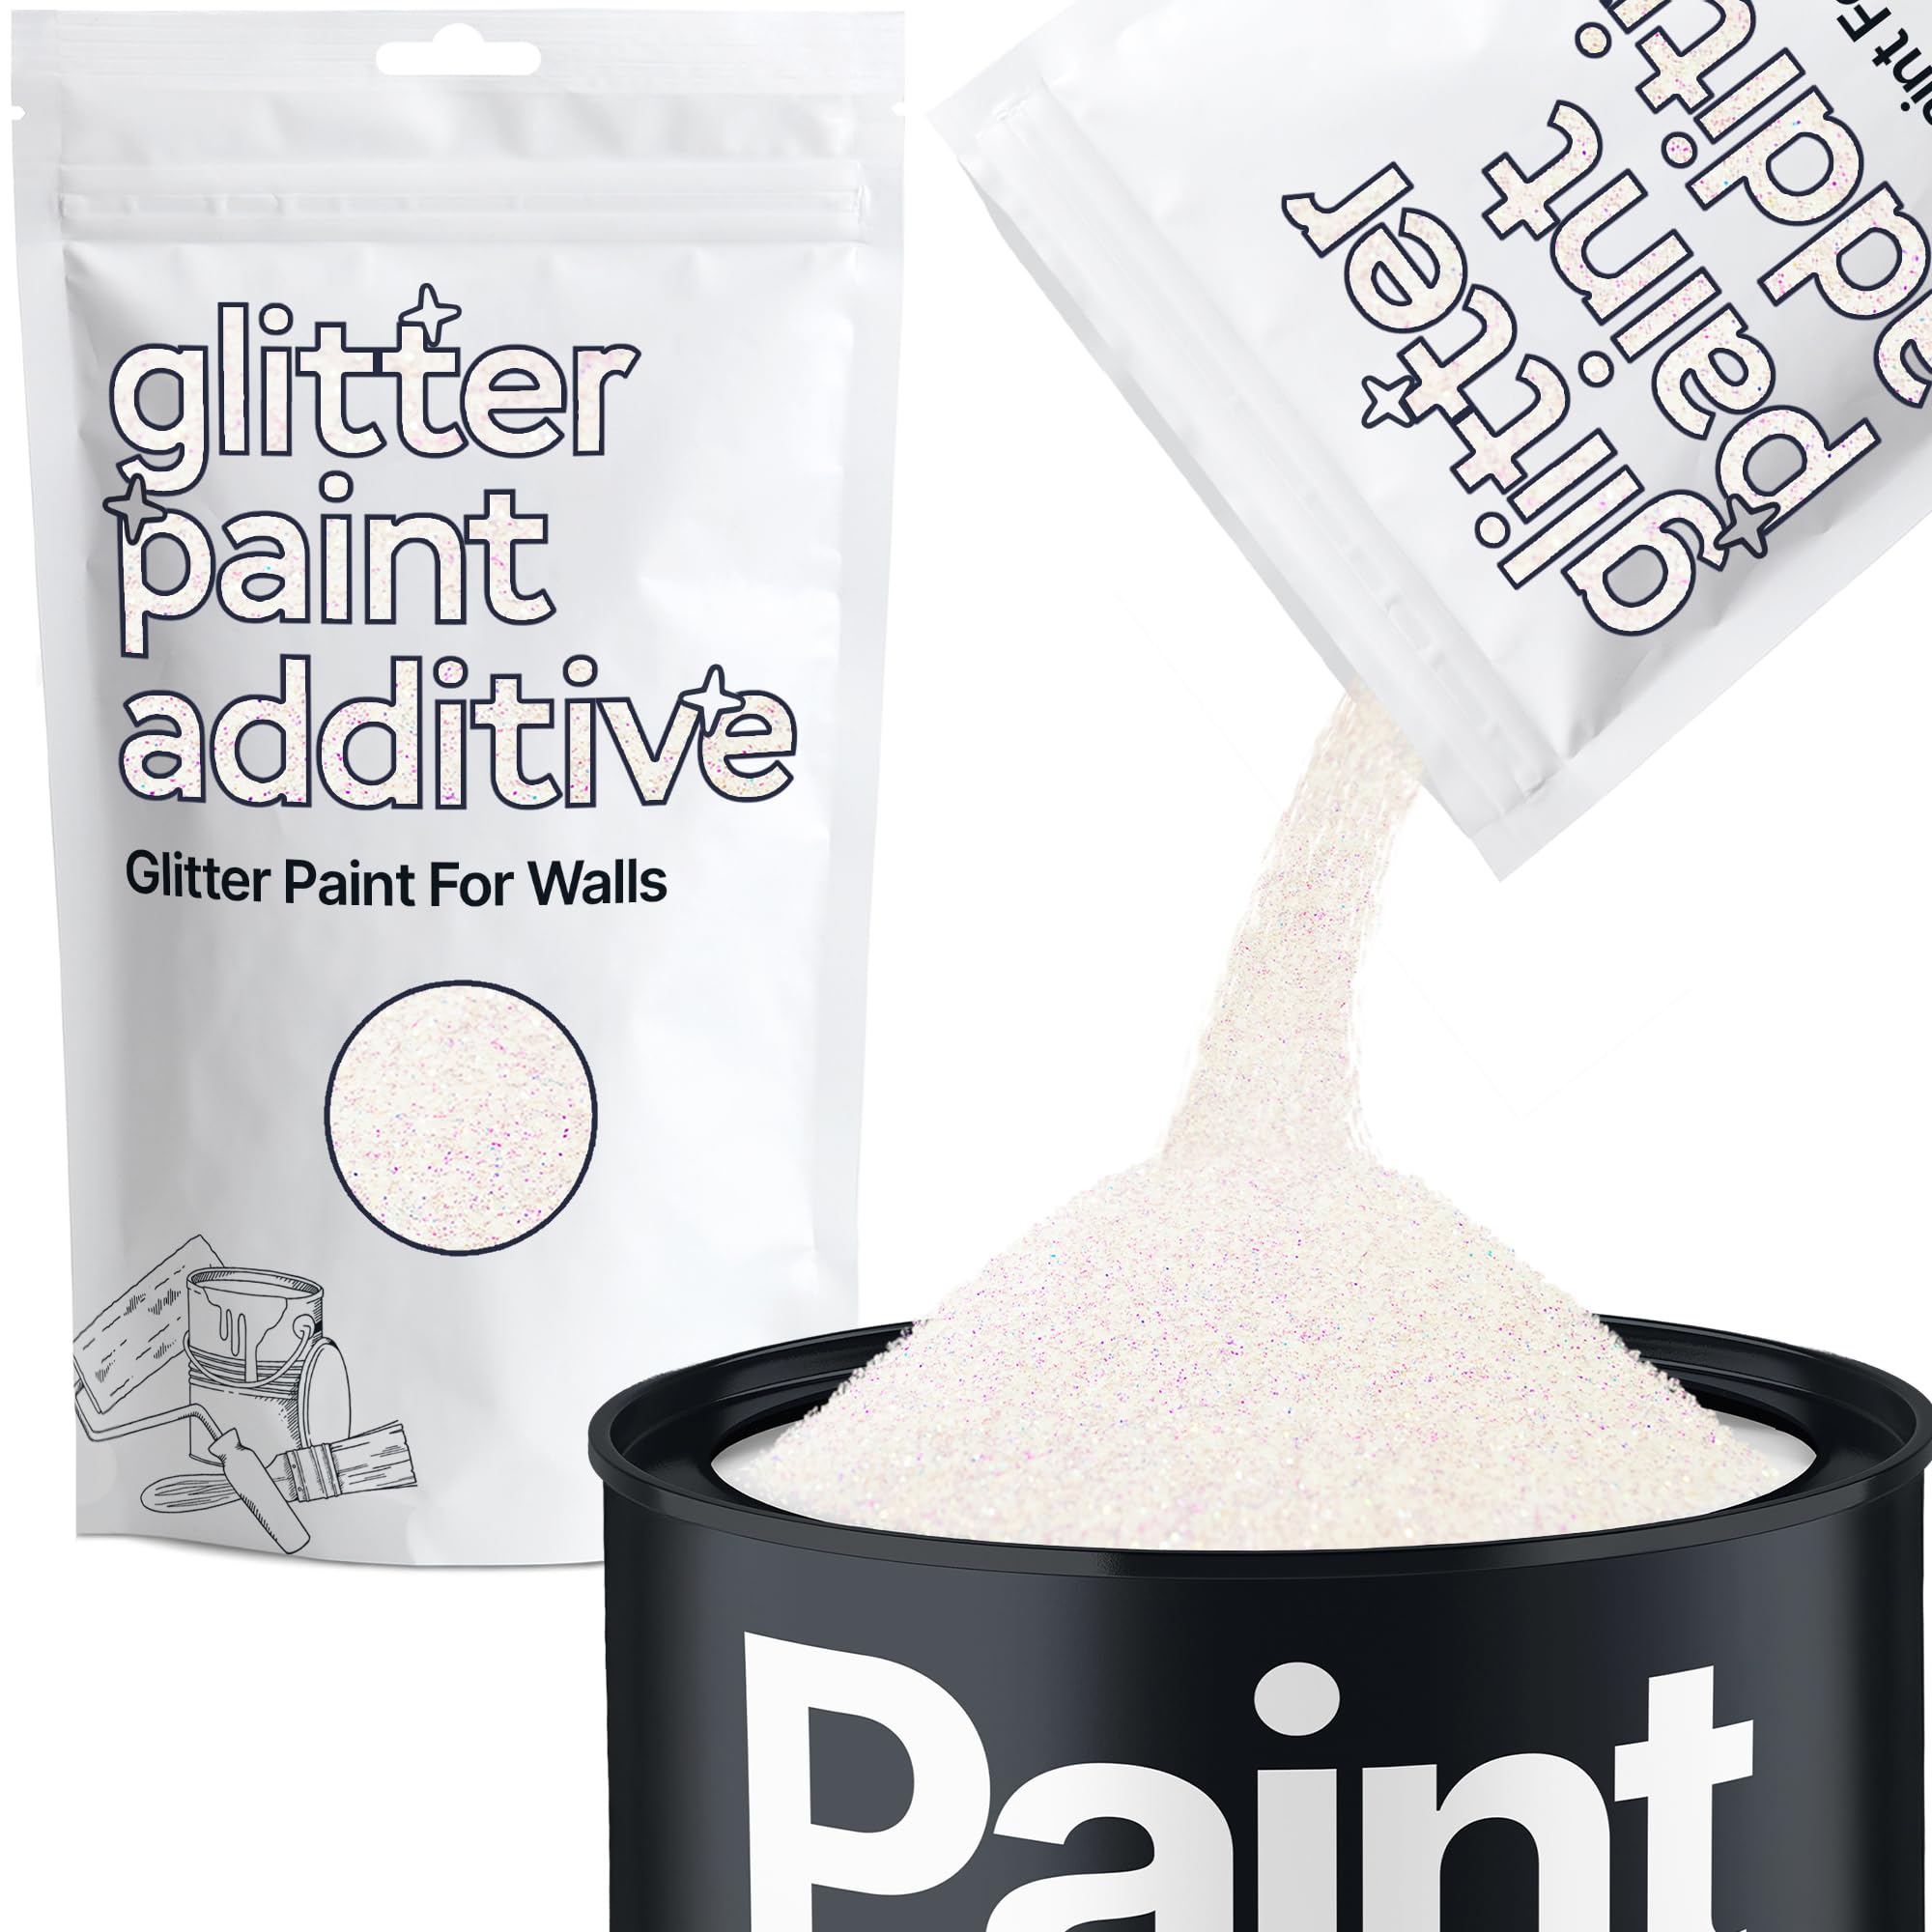
✨ Elevate Your Walls, Sparkle Your Space! 🏠
Hemway’s 100g Mother of Pearl Iridescent Glitter Paint Additive effortlessly blends with emulsion and acrylic paints to create a stunning, fade-resistant sparkle finish. Safe for all interior spaces, this non-toxic additive delivers professional-grade shimmer that dynamically changes with light, perfect for millennials seeking a chic, budget-friendly home upgrade.


| ASIN | B07B3LLWDP |
| Batteries Included? | No |
| Batteries Required? | No |
| Best Sellers Rank | #9,232 in Tools & Home Improvement ( See Top 100 in Tools & Home Improvement ) #2 in Household Paint Additives |
| Brand | Hemway |
| Color | Mother Of Pearl |
| Customer Reviews | 4.3 4.3 out of 5 stars (15,746) |
| Date First Available | April 13, 2017 |
| Finish | glitter sparkle |
| Horsepower | 1 Horsepower |
| Is Discontinued By Manufacturer | No |
| Item Form | glitter |
| Item Weight | 3.53 ounces |
| Item model number | 5060529002669 |
| Manufacturer | Hemway |
| Material | Water Based |
| Number of Pieces | 1 |
| Part Number | HW-GPA |
| Product Dimensions | 4.33 x 0.39 x 7.09 inches |
| Recommended Uses For Product | exterior-and-interior |
| Shape | Round |
| Special Features | Fade Resistant, Non Toxic |
| Unit Count | 3.8801 Ounce |
| Usage | Interior/Exterior |
| Volume | 1 Liters |
C**N
Super sparkly
Incredible and works great. Very shiny and exactly what I was looking for
C**F
Even for a "less is more" person I would use MORE
I am a less is more kind of person and in this case I could have used more. I wanted a subtle shimmer to my closet, but because I am adult I did not want "glittery" I did eyeball it like others and found I kept adding more. I used 1.5 bags on 1 gallon plus a quart. I should have used it all from the beginning. My closet used more paint than expected. My color choice was "Champagne Gold", which gave a beautiful mature shimmer. I dont paint in long stripes and did not want long patchy stripes, so periodically I would dip a rag in the paint and swirl the walls to be sure I had more of a Van Gogh effect than lines After painting I tried in an inconspicuous spot to use the waxing buffer from the car cleaning supplies, but it was too aggressive. Next I tried a large utility sponge also from car supplies, it did not give an even buff, and I could see where my finger pressure points were as the glitter began to appear. Finally I used the cleaning scruffy sponge from a kitchen want. WALLA, perfect effect and given it's small size it did not take long at all to "burnish" my closet which is 6 x 12 with 11 foot ceilings. The glimmer is a perfect shimmer, even our home contractor and closet installer are struck by it. I have an awful LED liner light so now I need a new chandelier to really set off the effect. PS I was having a professional closet system installed and opted for the white cabinetry with this paint effect to make the white stand out. When you choose a color or wood grain with closet systems it can go up by the thousands. This is a budget hack for a stunning closet.
A**H
1,000% Worth The Time & Money!!!!
I went to Lowes and purchased "Valspar Ultra Interior Paint & Primer" - Semi-Gloss Paint. The Paint Color Sample was 'Sherwin Williams' and Lowes has these within their paint color selections. I chose "ARGOS HGSW7065" as my paint color. It is for a little girl's room and I didn't want to go too dark in the gray family, and even with two coats of paint, it is the perfect shade of gray. I read multiple reviews before hand and really appreciated all the tips. I think the key is to purchase a paint mixing tool to attach to your electric drill. I placed the gallon of paint inside a five gallon bucket in order to avoid spills or a mess. I put '1' coat of paint on the walls WITHOUT the glitter additive, and let it dry thoroughly. Next, I used '1' gallon of paint, and slowly mixed in '2' bags of silver glitter. I then proceeded to fill my paint roller pan and would use up that batch, then use the drill to mix up the paint inside the gallon bucket thoroughly, and then poor up the next batch of paint and so on. This way, my paint didn't thicken up or dry up. As I was painting, I did see some glitter begin to shine through, but when it was thoroughly dry, I actually saw a ton of glitter, so much that I contemplated NOT buffing the walls. BUT, I am glad that we did, because slightly buffing the walls, the glitter immediately came to life. (Buffing the walls does not knock off glitter, it simply removes the paint that is covering the glitter, but does not remove paint from the walls). One of the helpful tips was to purchase a ScotchBrite pad. I purchased some ScotchBrite refill pads and only used one. The buffing process took about 45 minutes and actually was very easy. It sounds overwhelming, but it was honestly surprisingly easy. I was very hesitant to attempt this project, but am very happy that I did so and although it sounds difficult, it really was almost as easy as it is to simply paint a regular wall. The glitter is a fine consistency and although I used '2' bags to my '1' gallon of paint, it is not overwhelming or too much whatsoever. I tried to take video and pictures of the room at nighttime, and they did not do justice whatsoever. However, the videos in previous reviews are a great example of the results. I would 1,000% recommend this product and project to friends and family and I would hands down do this again in the future. I am glad that I read multiple reviews and did not give in to thinking that this would be too difficult of a project. Update: See the attached video, but this absolutely does NOT do it justice. I LOVE it! UPDATE: September 2024 Back at it again 8 Months later! I’m still in LOVE!!! I painted a second room using the same paint and the same silver glitter and this time I added 2 1/2 packs of silver glitter to 1 gallon of paint and did it exactly the same technique as I did in January. When I finished, the glitter was coming through so well that I actually contemplated not even buffing the walls. I will continue to recommend this product and I plan on doing a third room in the next month. It truly ROCKS!!!! Even though I tried to take pictures and take videos during the day or night, it just truly does not do justice to how awesome it shows up! I had to take down the original video to add an updated one so I hope this is helpful bc Amazon allows one video only.
S**A
Doesn't show much when you put the glitter directly into the paint
Loved this look but I mixed it with the paint first wasn't able to see it much.But then I put the glitter in my hand and blue wind tuit to spray the wool while it was wet.I gave it outstanding, finishing touched with
L**E
Sparkles did not disappoint
I was very happy with the amount of glitter the additive provided however, I discovered I had to add the glitter by hand. When I added the glitter to the paint itself, it did not show up so I'm glad I did not add the entire packet of glitter to the paint to start with. The product was a bit pricey too and it would've been out of my budget if I had a larger project. Overall, I'm pleased with the product though.
J**.
Waste of $80 and my time!
I am opening an art studio and decided to do a galaxy glitter wall and bought 4 packets for the 2 gallons of paint needed. I stirred very well and painted only for it to look like an ordinary black wall! I spent $19 per packet at 4 each for me to have a plain black wall! Tomsay I am disappointed is an understatement! I could have thrown glitter onto a wet, freshly painted wall and obtained better results. Furthermore the buffing pads are also a joke! HORRIBLE product, ESPECIALLY doesn't come out with black paint! DO NOT BUY! Wish I didn't!
S**O
Very nice.
Looks great when mixed in grout.
C**R
No sparkle
I couldn’t see any sparkle
S**R
Ich mische den Glitzer überall rein. Auch in meine Lackierpistole. Wandfarben mit Mettalic/Glitzereffekt sind sündhaft teuer. Je nach Lichteinfall neue Wand ;-)
C**K
Ik ben super blij met het resultaat. De glinsters in beige watergedragen muurverf gemengd en rollen maar. Een super leuk en verbluffend goed effect. Prachtig
P**T
je me prépare une remorque pour les fêtes de Noël et ces étoiles très lumineuses sont du plus bel effet !
A**.
Glitzert wunderbar <3 Sehr einfach in der Handhabung und dennoch toller Effekt. Wir sind begeistert! Wir werden die anderen Varianten auch noch ausprobieren.
R**N
Adds a nice shimmer to the wall
Trustpilot
1 month ago
3 days ago