We remain fully operational. Our teams are working around the clock to ensure your deliveries continue safely.

DOWNLOAD THE APP


Customer Services
Copyright © 2025 Desertcart Holdings Limited
DOWNLOAD THE APP
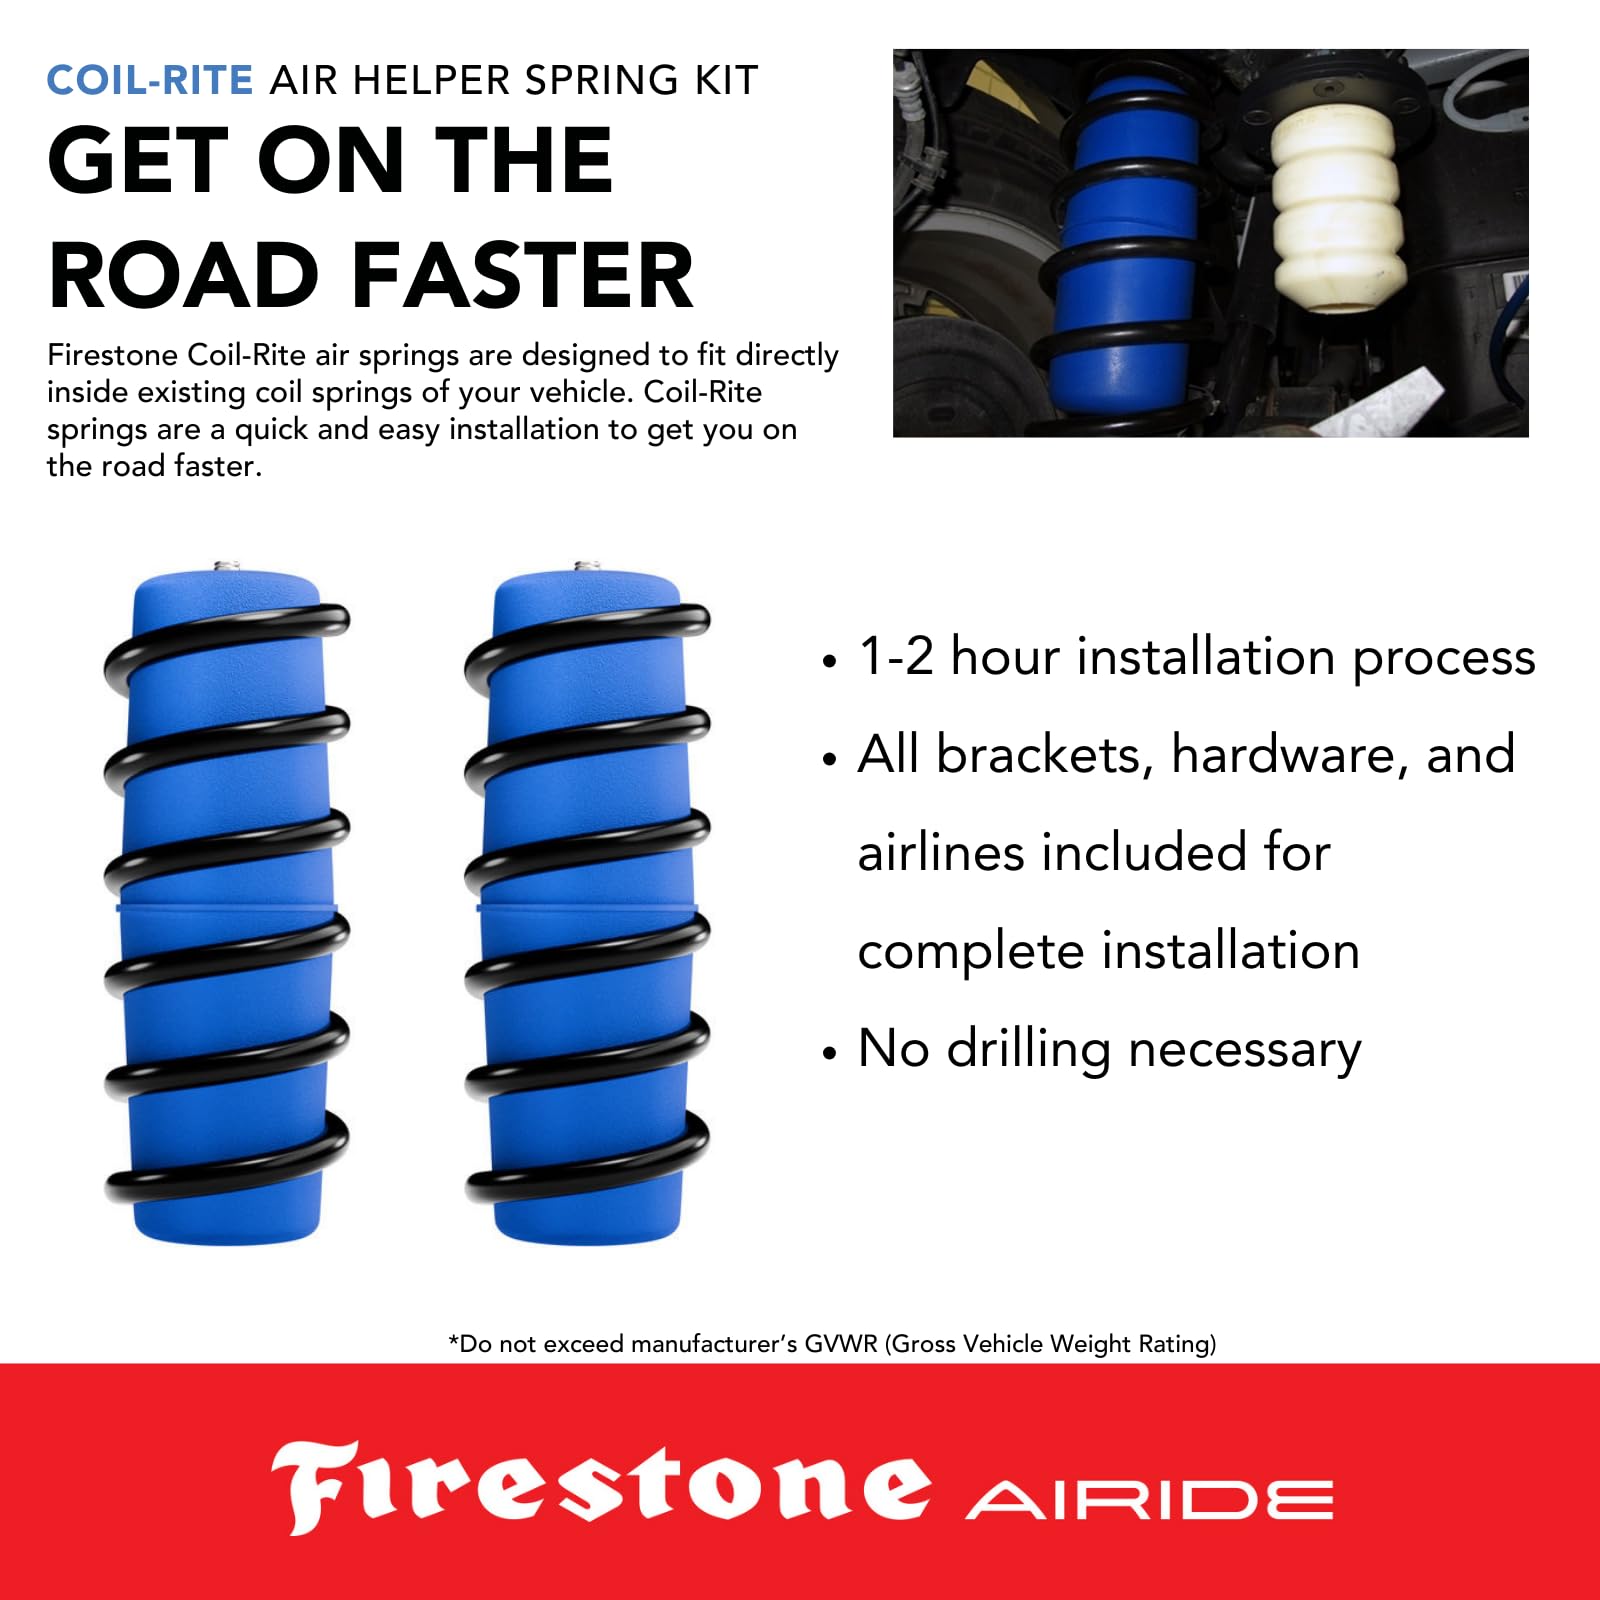
🚀 Elevate your classic SUV’s ride—stability and strength without the wait!
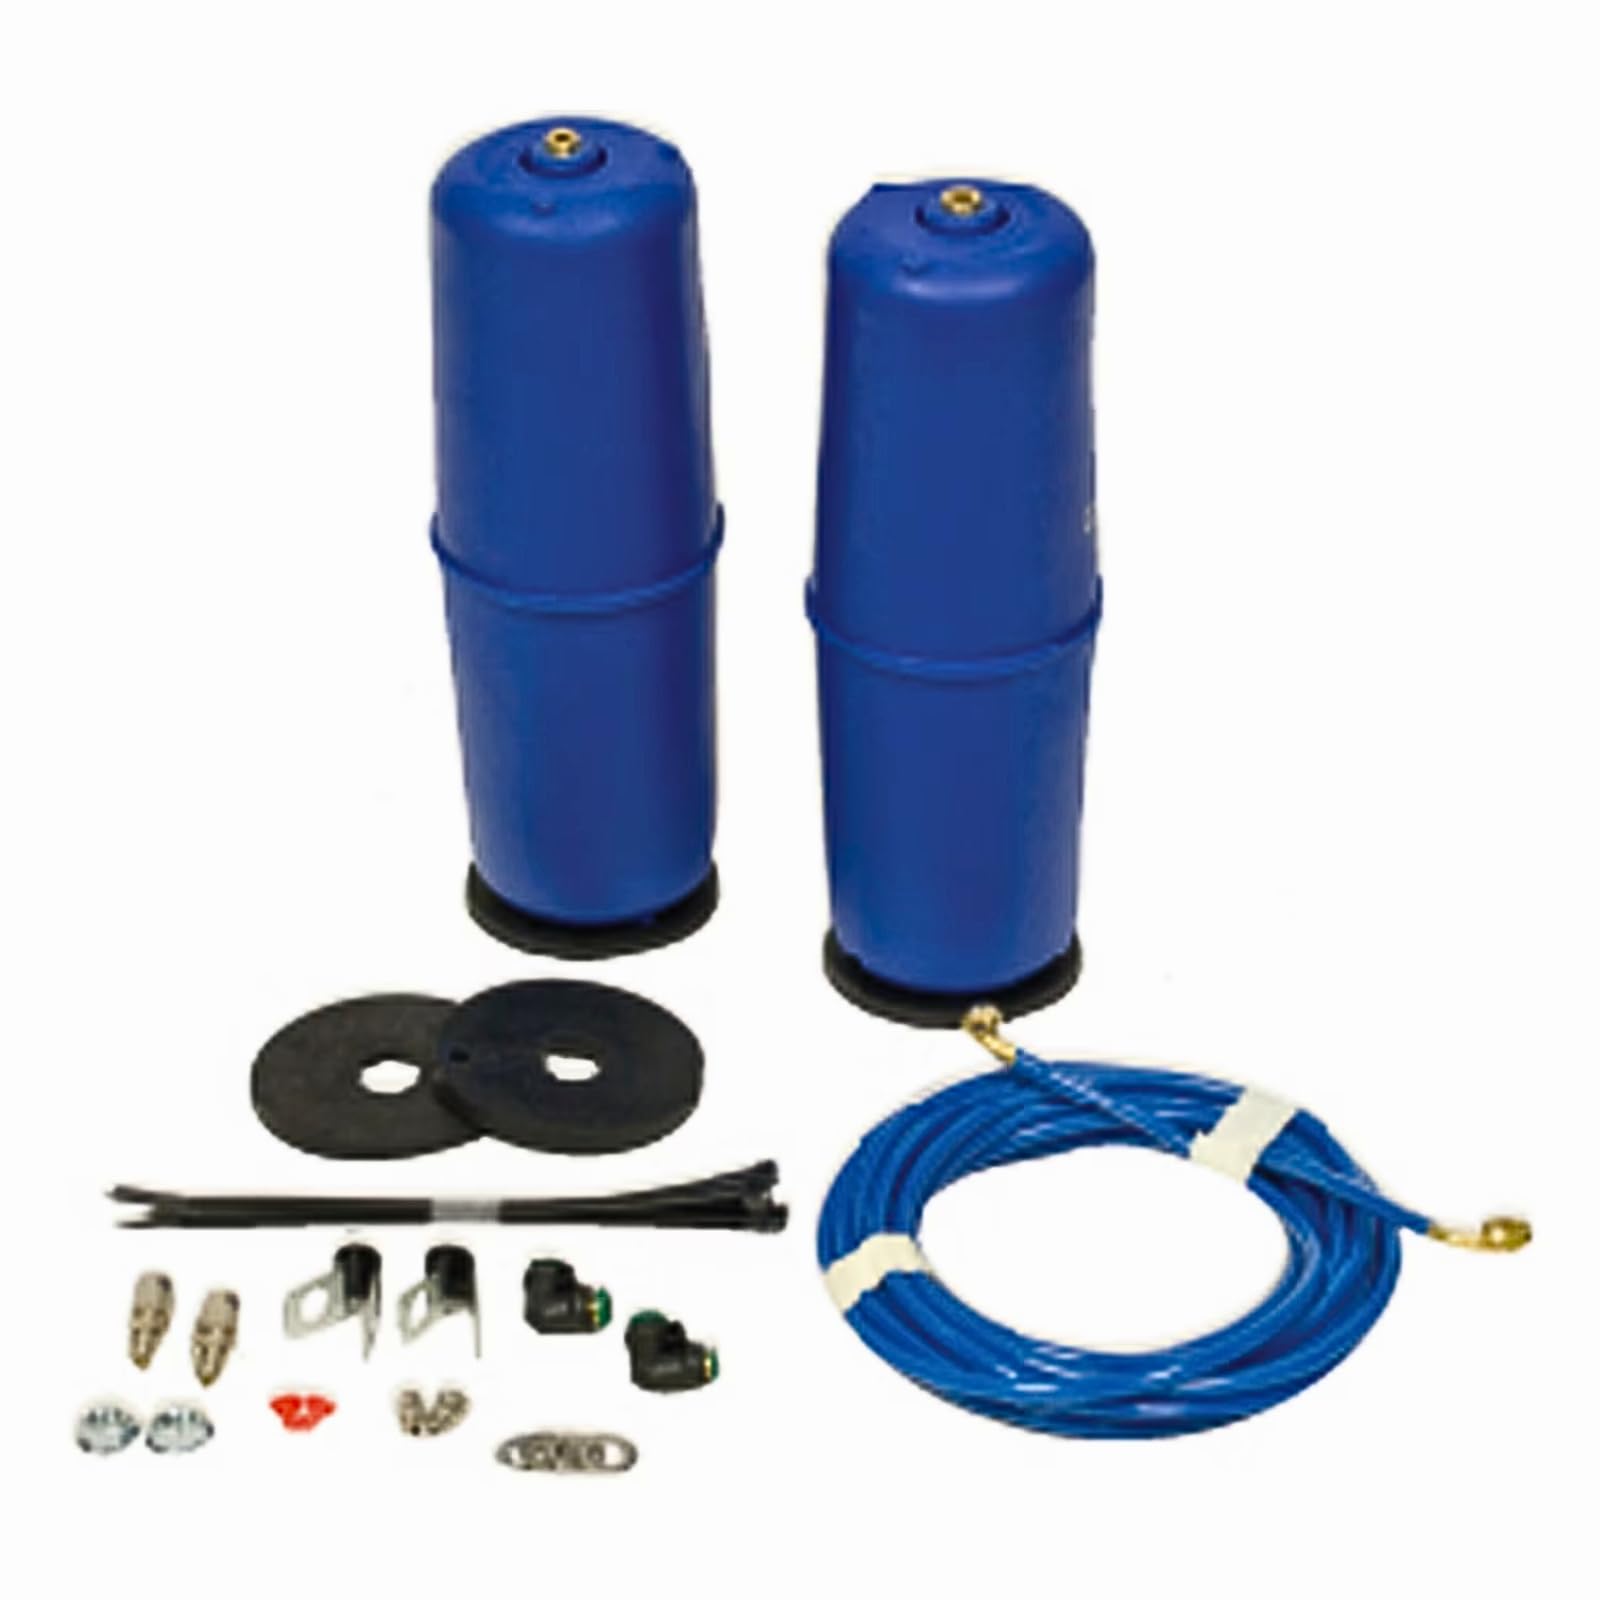
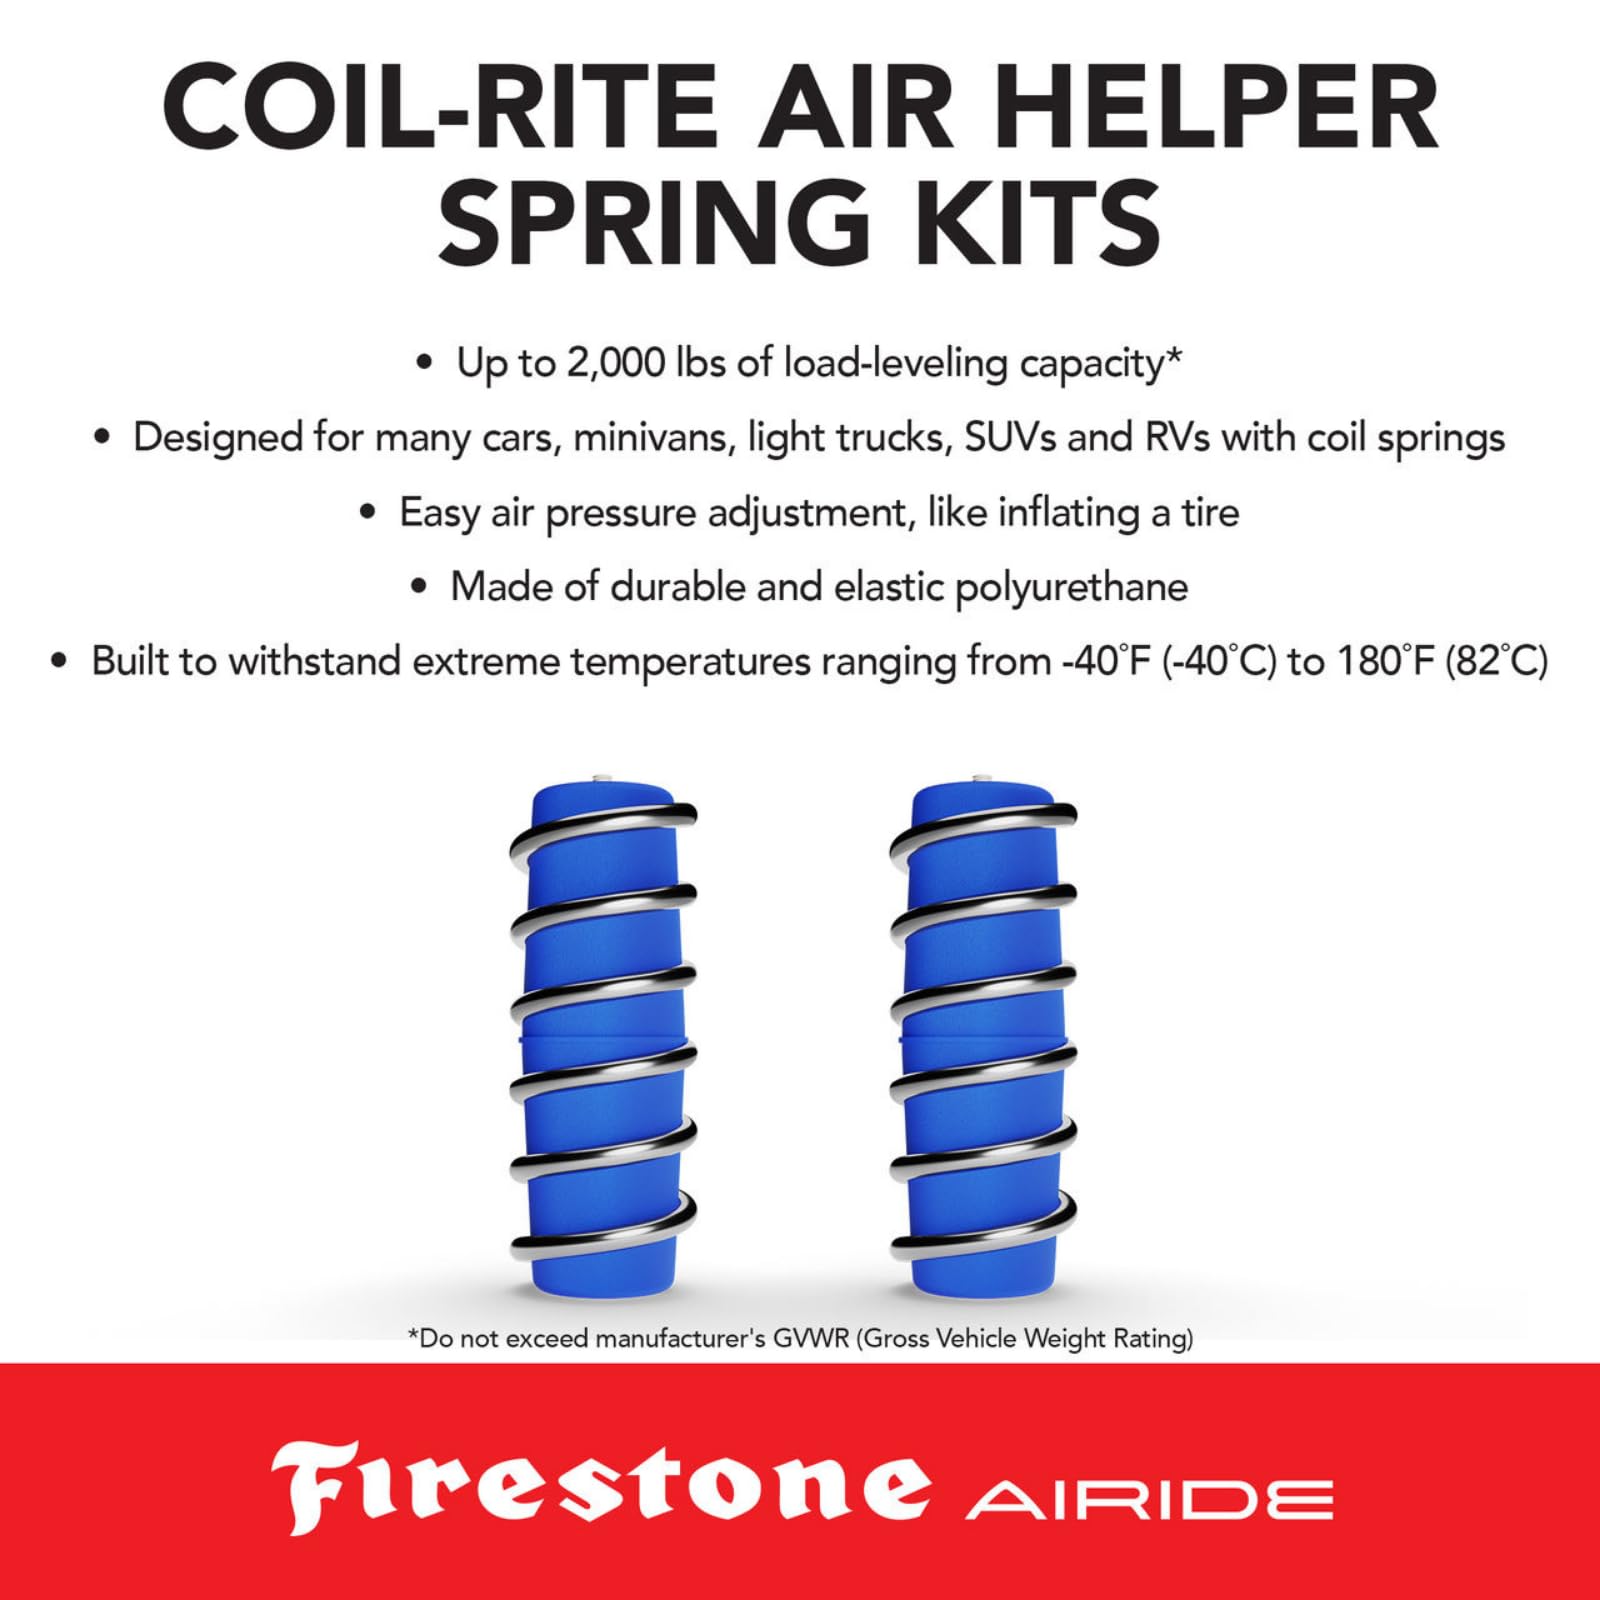
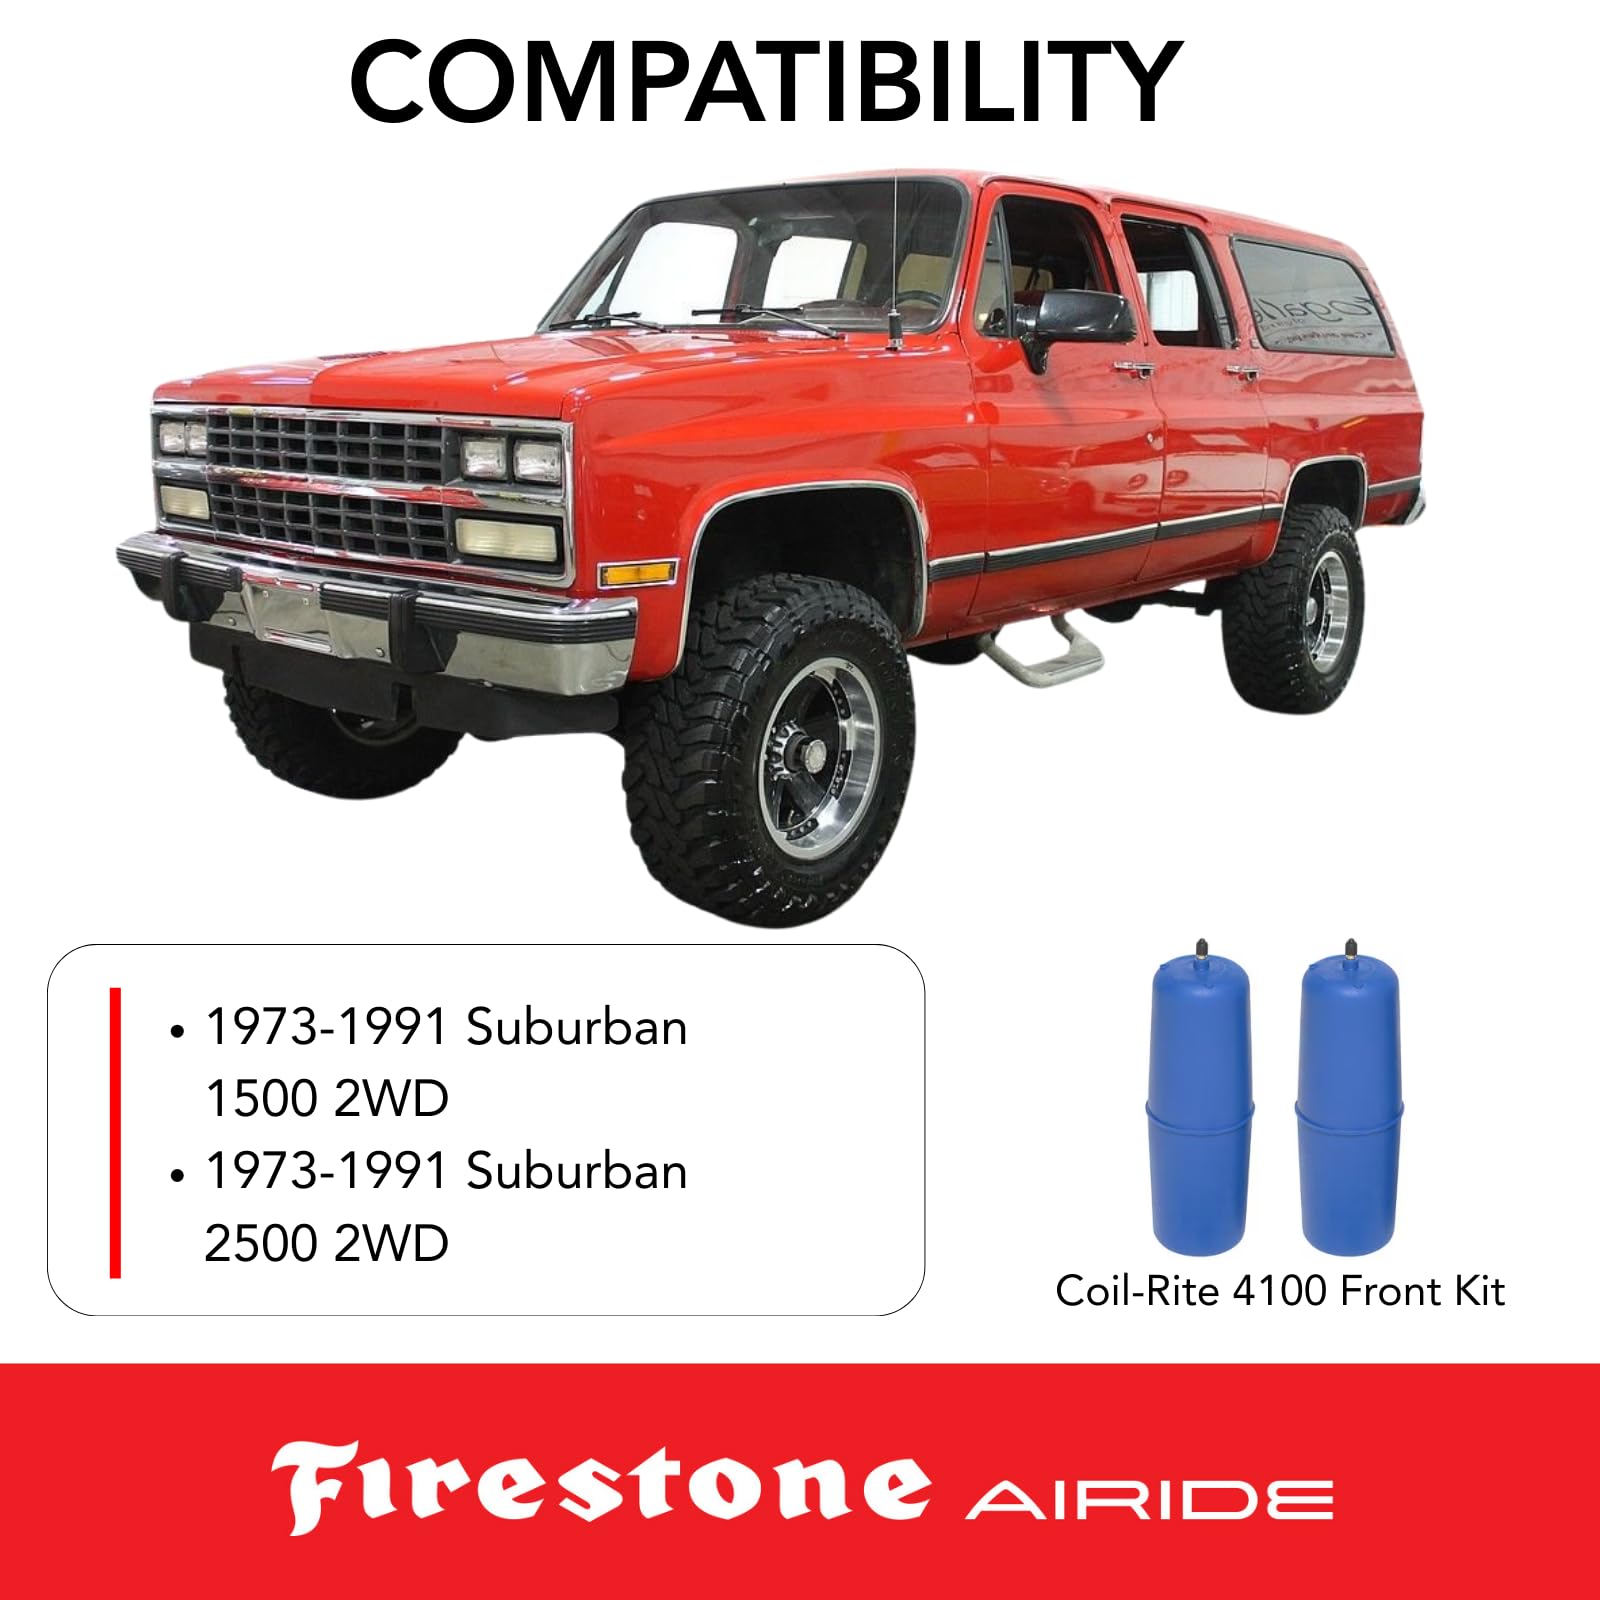
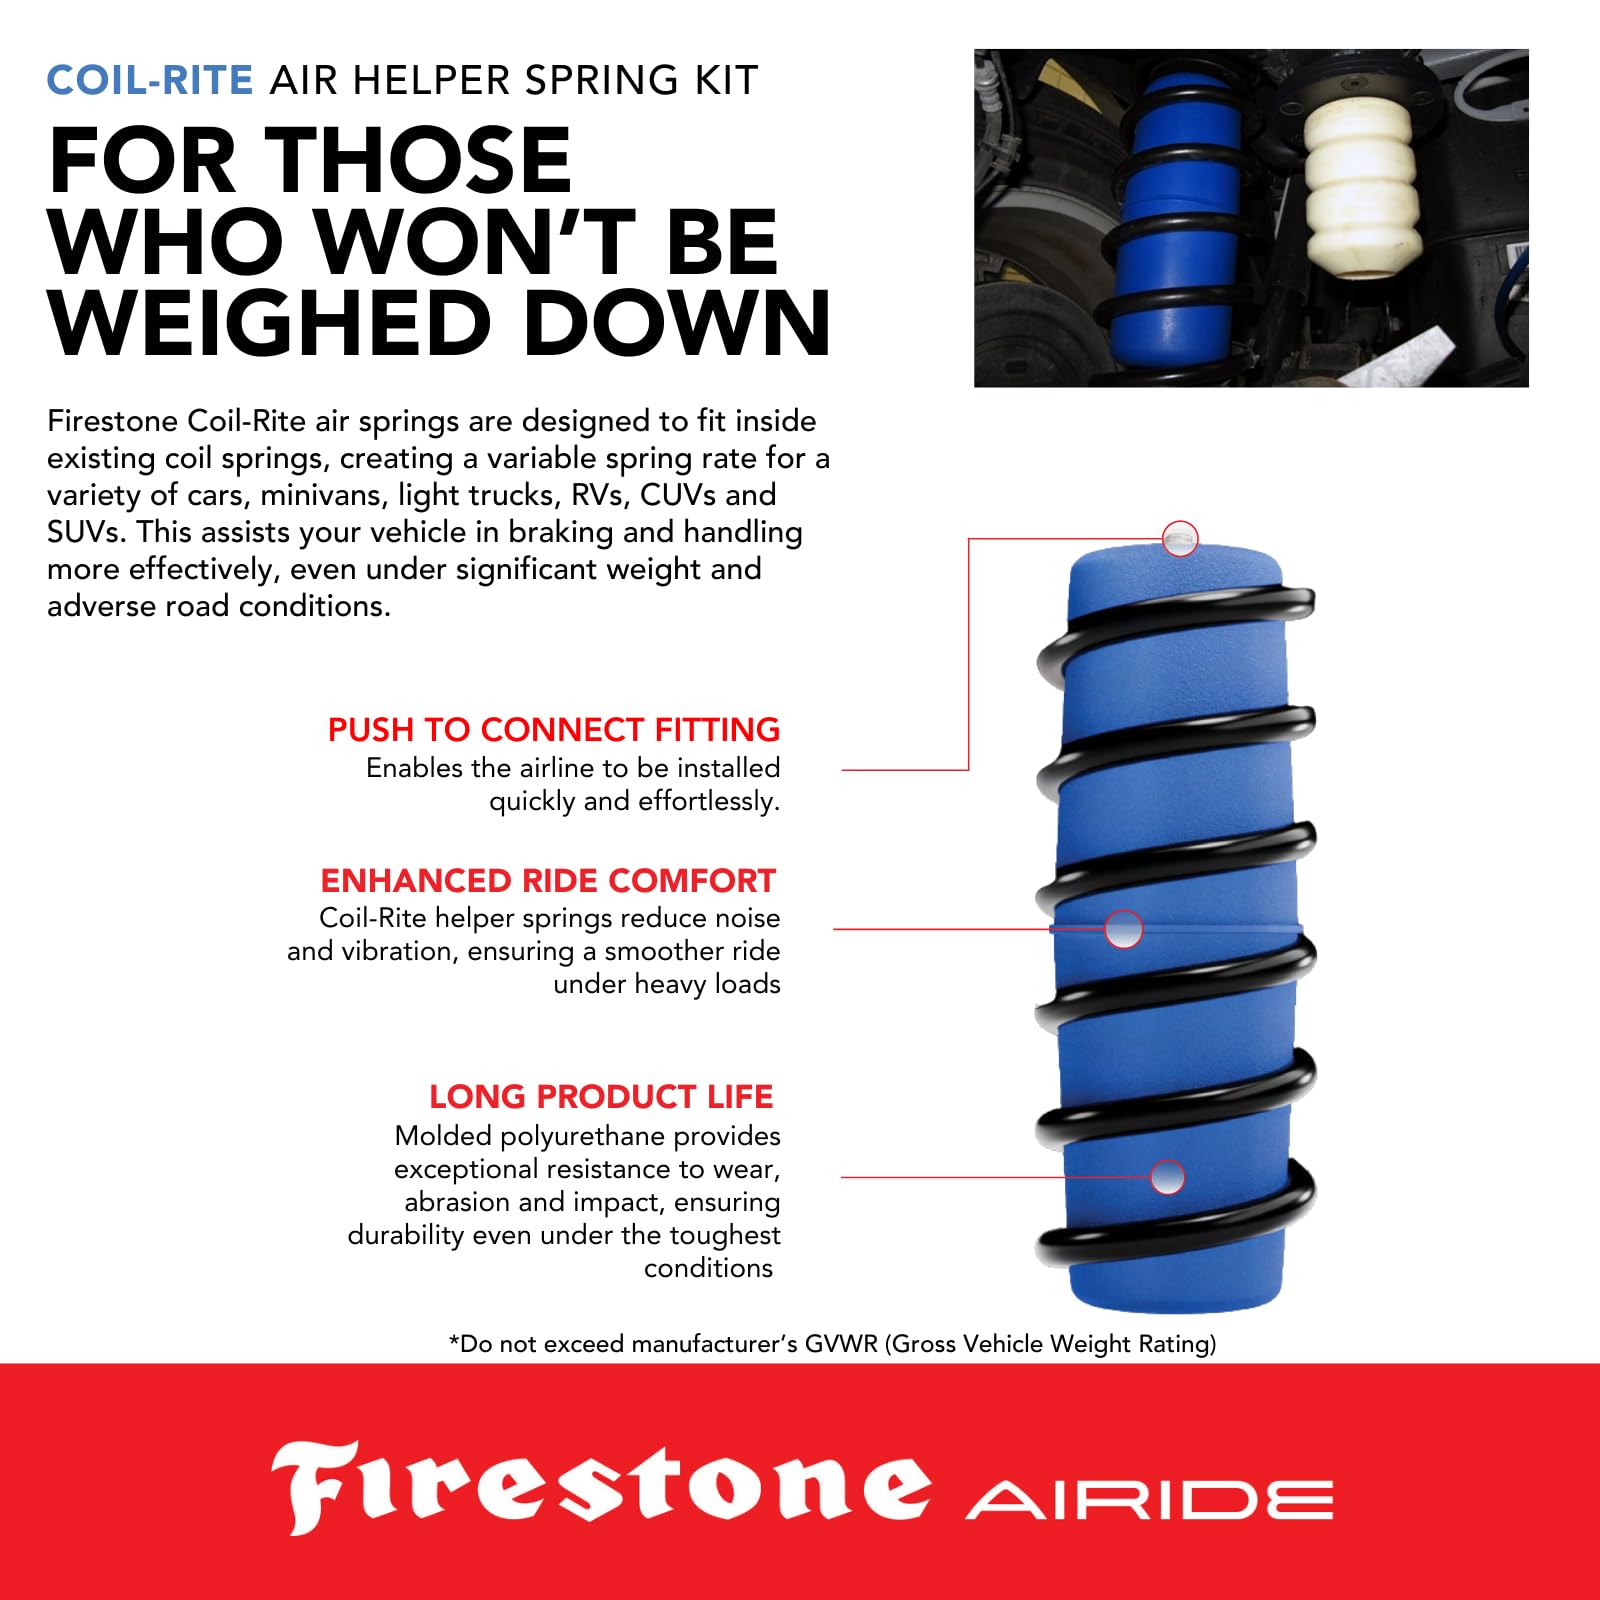
The Firestone Airide 4100 Coil-Rite Front Air Springs Kit is a precision-engineered suspension upgrade designed for 1973-1991 Blazer, Jimmy, and Suburban 1500/2500 2WD models. With a robust 1,000-pound load capacity and a no-drill installation process, it enhances vehicle stability, reduces tire wear, and improves handling under heavy loads. This kit includes everything needed for a quick install, making it the go-to choice for professionals seeking reliable, durable air springs that blend classic vehicle compatibility with modern performance.


| ASIN | B000CMEXFY |
| Best Sellers Rank | #907,987 in Automotive ( See Top 100 in Automotive ) #1,683 in Automotive Replacement Air Suspension Kits |
| Brand | Airide |
| Customer Reviews | 4.5 4.5 out of 5 stars (379) |
| Date First Available | February 13, 2005 |
| Exterior | Painted |
| Fuel Type | Propane |
| Global Trade Identification Number | 00767555020630 |
| Is Discontinued By Manufacturer | No |
| Item Weight | 1.6 ounces |
| Item model number | 4100 |
| Manufacturer | Firestone |
| Manufacturer Part Number | 4100 |
| Material | Durable, elastic polyurethane |
| Maximum Energy Output | 950 Watts |
| Model | Firestone 4100 |
| OEM Part Number | 4100 |
| Power Source | Gas Powered |
| Product Dimensions | 182"L x 37"W x 45"H |
| Special Features | Not_Performance_Used |
| UPC | 767555020630 |
R**N
Great replacements
Not super easy to install, but not too bad. There's a couple YouTube videos that help. Nice bags though.
A**W
Fit Chevy p30. Excellent. Fast ship great seller
They work great. .warm up air bag in sun or some way To install simply fold then get hose clamp on it 2 inches from top. Tighten clamp then shove in. Loosen clamp lower it a couple inches then retighten. Push up and in some more repeat. This way works.
M**T
Works Excellent. Installation Not Too Bad. Amazon is Not an Authorized Reseller.
The product itself is great. Durable, and it makes a huge difference in ride quality. Unfortunately, Amazon is not a licensed reseller of this item, meaning that Firestone does not need to honor the Warranty if they chose not to. I found this out the hard way. That being said, I had a leak in one of the preinstalled fittings on the air line, and Amazon took care of it immediately. Installation wasn't easy, but it wasn't the nightmare I thought it would be. Watch the vids on YouTube and have some patience and it'll go together without too much trouble. Taking the old bags out was nearly as much trouble as installing the new ones. 4 stars instead of 5 due to Amazon not mentioning that they are not an authorized reseller.
D**.
Whew - I wish I had done this a couple years ago
I knew that the air bags in my RV had been bad but I was being lazy about fixing it. I finally bit the bullet and bought these. It was a breeze to install. I cut out the old ones into a spiral with some tin snips and a Rambo knife. Then I just pulled 'em out. Youtube was a big help. I compressed the heck out of them with some hose clamps and zip ties. I lubed them up with some dish soap. They slid up through a hole in the bottom control arm. Don't make the mistake I did and carelessly put them in with the valve up. Luckily I caught myself before I got it too far in! Tip: I used a bottle jack to press it up and a big screw drive to hold it up to get the lower plate installed. The plates were the hardest part. Don't forget to put the upper one on before you put the last bit through. It is a little persnickety, in my experience. It probably takes a shade tree guy like me about 30 - 45 minute per side. That was my average, even with the mess up. I'm glad I finally did this (right before I give it to my kids)!
B**D
Super extra
Super
E**N
PITA to install but well worth the effort
Installed these on a 1992 Fleetwood Flair motorhome on Chev P30 series chassis. I included details of how we installed in my original Amazon review but that review was rejected for reasons that I was unable to determine, so I'm trying again with fewer (pretty much no) details other than photos. Can't for the life of me figure out what Amazon didn't like about original review. Hopefully the annotated photos will be enough to be of some help. Sorry I can't provide more info on how to go about installing so as to minimize your effort. I hope the pics help. Good luck with your install. It is definitely worth the effort. Thanks.
J**O
Very good
These helped the ride so much better
V**V
Definitely improves the ride
Has so many have said should have done it sooner. Not the easiest of upgrades with two people it takes around 2 hours. About half the time is spent cutting out the old ones. Plenty of cable to route the air hoses throughout the frame of a 1994 RV Holds air fairly well. I assume some of the leaks come from cable connections. But will hold plenty of air for up to a week or so. So far the quality is held up as well only one season so don't know how long they'll last but I hope it's years
P**.
Mounting pads missing.
F**Z
Los puse en un motorhome rv y me agrado mucho más suave cuando pasas por baches Buen producto
R**.
Gute Qualität
R**.
Installed these in a 98 Bounder p30. What a pain, took 3hrs from unboxing to beer time. I don’t wish this job on anyone. But, they work. I have mine set, suspension unloaded, at 75psi.
G**N
Total kit
Trustpilot
2 months ago
1 week ago